
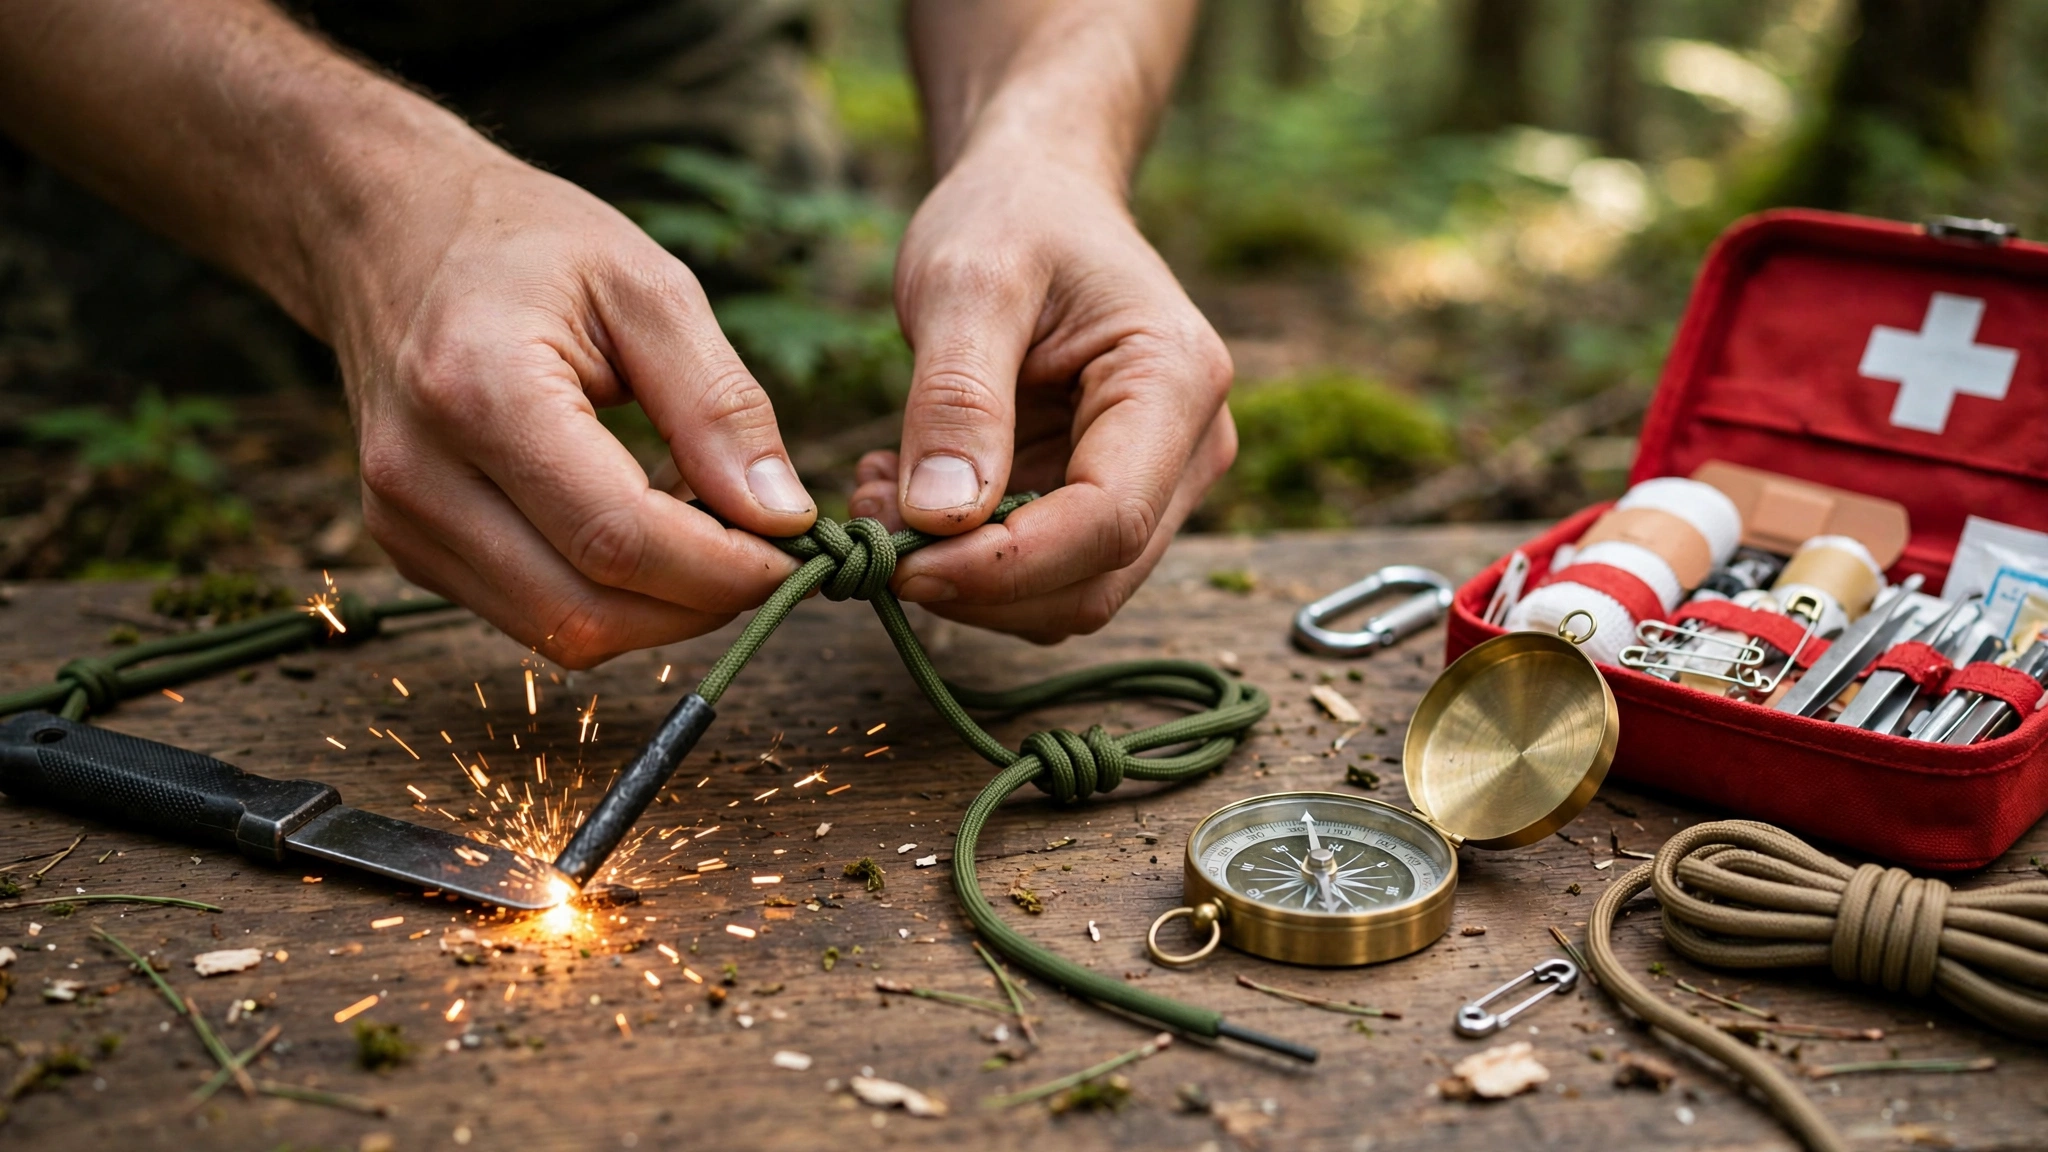
Knots are the most underrated survival skill, because they are invisible until you need one. A shelter that will not stay up, a load that will not stay tied, a rescue line that slips — all of them are knot problems, and all of them are fixable with five knots, practised until they are automatic. You do not need to learn dozens. You need five, and you need to be able to tie them cold, wet, and in the dark.
1. The bowline: the loop that will not slip
The bowline makes a fixed loop at the end of a rope that will not tighten under load and will not slip, which makes it the knot for rescue loops, hanging a food bag, and attaching a rope to a fixed point. The old rhyme helps: the rabbit comes out of the hole, goes around the tree, and back down the hole. Practice it until you can tie it behind your back, because in a real situation you may be tying it one-handed or in poor light. Test every bowline by pulling the loop hard before trusting it with weight.
2. The clove hitch: fast attachment to a post or pole
The clove hitch attaches a rope to a post, pole, or tree quickly, and it is the starting knot for many lashings and shelters. Wrap the rope around the post, cross over itself, wrap again, and tuck the end under the second wrap. It is fast and easy to untie, but it can slip if the load pulls at an angle or if the rope is smooth, so use it where the pull is steady and check it after loading. For shelter building, the clove hitch is how you start tying poles together, and our beginner survival skills guide covers the shelter basics it fits into.
3. The square knot: joining two ropes, and first aid
The square knot joins two ropes of similar thickness, and it is also the knot for tying bandages and slings — right over left, then left over right, so the knot lies flat. It is simple, but it has a limit: it can slip under heavy or uneven loads, so do not trust it for climbing, towing, or anything where a failure would cause injury. For bandages, bundles, and light joining jobs, it is perfect, and it is the knot to teach children first because it is easy to check at a glance. Pair it with the skills in our first aid kit guide for a complete basic kit.
4. The taut-line hitch: the adjustable guyline
The taut-line hitch is the knot that makes tents and tarps work: it grips the rope when loaded, but slides when you push it, so you can tighten or loosen a guyline without retying. Tie it around the standing part of the rope, wrap twice inside the loop and once outside, and dress it neatly. Then slide it to tension the line and let go — it should hold. This is the knot that turns a sagging tarp into a taut shelter, and it is the one most beginners skip, then wish they had learned in the rain. Practice it on a clothesline at home until adjusting tension feels natural.
5. The figure-eight: the stopper that saves rope
The figure-eight is a stopper knot: tied near the end of a rope, it prevents the rope from slipping through a ring, a grommet, or your hand. It is bulkier than a simple overhand knot, which makes it easier to untie after loading, and it is the foundation of the figure-eight loop used in climbing. For everyday emergency use, the stopper version is enough: tie it at the end of any rope you do not want to lose through a hole, and you will wonder how you managed without it.
How to actually learn them
Buy a few metres of soft rope or paracord and keep it somewhere you pass daily — by the sofa, in a jacket pocket, in the car. Tie each knot ten times, then tie it with your eyes closed, then tie it with cold hands after holding ice water for a minute. That last test is the honest one: fine motor skills fade in cold and stress, and a knot you can only tie warm and calm is a knot you do not own yet. Once a month, retie all five. Rope skills fade faster than people expect, and a monthly five-minute refresher keeps them ready. Keep the rope in your bug-out bag or car kit, so the skill and the tool travel together.
Shop the practice kit
- Paracord for practice — cheap, strong rope for learning all five knots.
- A knot-tying guide for beginners — clear diagrams for practice at home.
- An emergency tarp — the shelter these knots are made for.
As an Amazon Associate, Alien Bunker earns from qualifying purchases. This page contains affiliate links, which support the site at no extra cost to you.