
A broken bone is one of the injuries that is most likely to happen in an emergency, and one of the least practised for. People fall on slippery pavements, they fall down stairs in the dark during a blackout, they are thrown around in an earthquake, and they trip over debris. A broken arm or leg is painful, frightening, and — if it is handled badly — easy to make worse. A splint is a simple thing: a rigid support that holds the broken limb still until professional help arrives. It does not fix the break. It stops the break getting worse, it reduces the pain, and it makes the injured person safe to move. This guide covers the basics of splinting — what you need, how to do it, and, just as importantly, what not to do. This is first-aid awareness, not medical training: it is meant to help you act calmly until professionals take over.
When to splint, and what to use
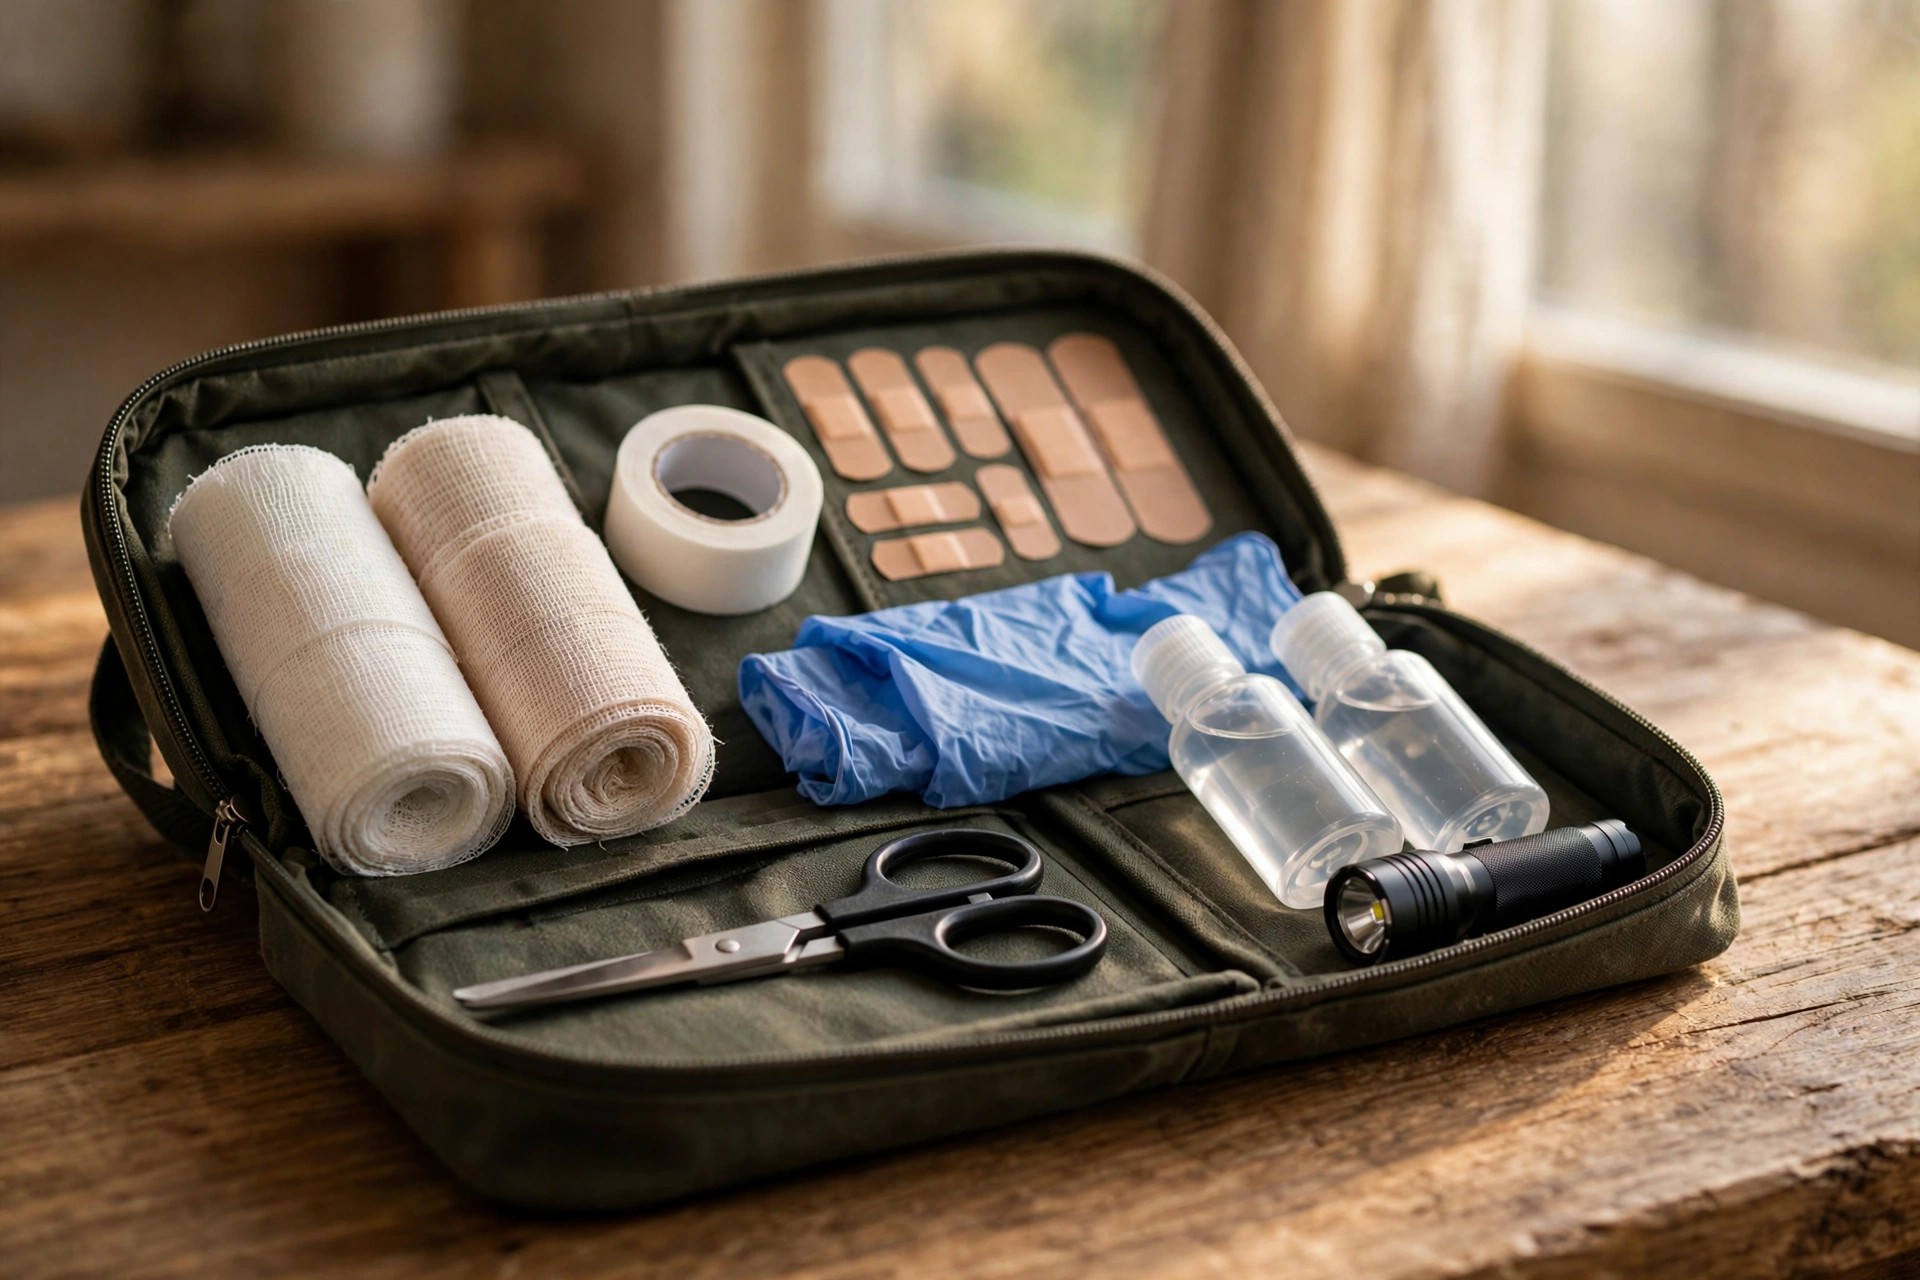
Splint a limb when it looks deformed, when it is swollen and very painful, when the person cannot move it, or when you can see or feel that a bone may be broken. If in doubt, treat it as broken: it is far better to splint a bad sprain than to move a broken bone. See our first aid for sprains guide for the difference between a sprain and a break, and our first-aid kit checklist for what to keep in the kit. A splint can be made from almost anything rigid and flat: a rolled-up magazine, a piece of wood, a folded umbrella, a walking stick, or a purpose-made splint from a first-aid kit. You also need something to tie it with: bandages, strips of cloth, scarves, or tape. Keep a few triangular bandages and a roll of gauze in the kit, as in our bandaging techniques guide, and keep a few rigid items in mind around the flat — a chopping board, a broom handle, or a thick book are all better than nothing. Before you splint, check the limb: is there bleeding? Control the bleeding first, with direct pressure and a bandage, and do not put a splint over a wound that is still bleeding heavily. Check the feeling and the colour of the fingers or toes beyond the injury: if they are pale, blue, cold, or numb, or if the person cannot move them, tell the emergency services, because the blood flow may be affected.
How to splint, step by step, and the mistakes to avoid
Step one: keep the person still and calm. Sit or lie them down, and tell them what you are doing. Step two: support the limb in the position you found it. Do not try to straighten a bent or deformed limb, and do not push a bone back in — ever. Step three: pad the splint. Put a folded cloth or a piece of clothing between the splint and the skin, so the splint does not press on the bone. Step four: place the splint along the limb, so it supports the joints above and below the break — for a broken forearm, the splint should reach from the elbow to the wrist. Step five: tie it in place, firmly but not tightly. You should be able to slip a finger under the ties. If the fingers or toes beyond the splint go pale, blue, cold, or numb, loosen the ties. Step six: support the limb. An arm in a splint should be held in a sling — a triangular bandage, a scarf, or a shirt tied around the neck — and a leg in a splint should be kept still, with the person lying down. Step seven: get help. Call the emergency services, and keep the person warm, still, and calm until they arrive. The mistakes to avoid are simple and serious: do not move the limb more than you have to; do not straighten it; do not tie the splint too tightly; do not give the person food or drink, in case they need an operation; and do not try to be a doctor. A splint is a holding measure, not a treatment, and the job is done when the person is safe, still, and on their way to help. Practise the steps once, with a rolled magazine and a scarf, so that the first time you do it for real is not the first time you have ever done it. See also our first aid for choking guide and our signalling for help guide.
Shop splint and first-aid basics
- Comprehensive home first-aid kits — bandages, gauze, and splints in one box.
- Triangular bandages in bulk — slings, ties, and padding for a splint.
- Malleable aluminium splints — light, bendable, and shaped to the limb.
As an Amazon Associate, Alien Bunker earns from qualifying purchases. This page contains affiliate links, which support the site at no extra cost to you.