
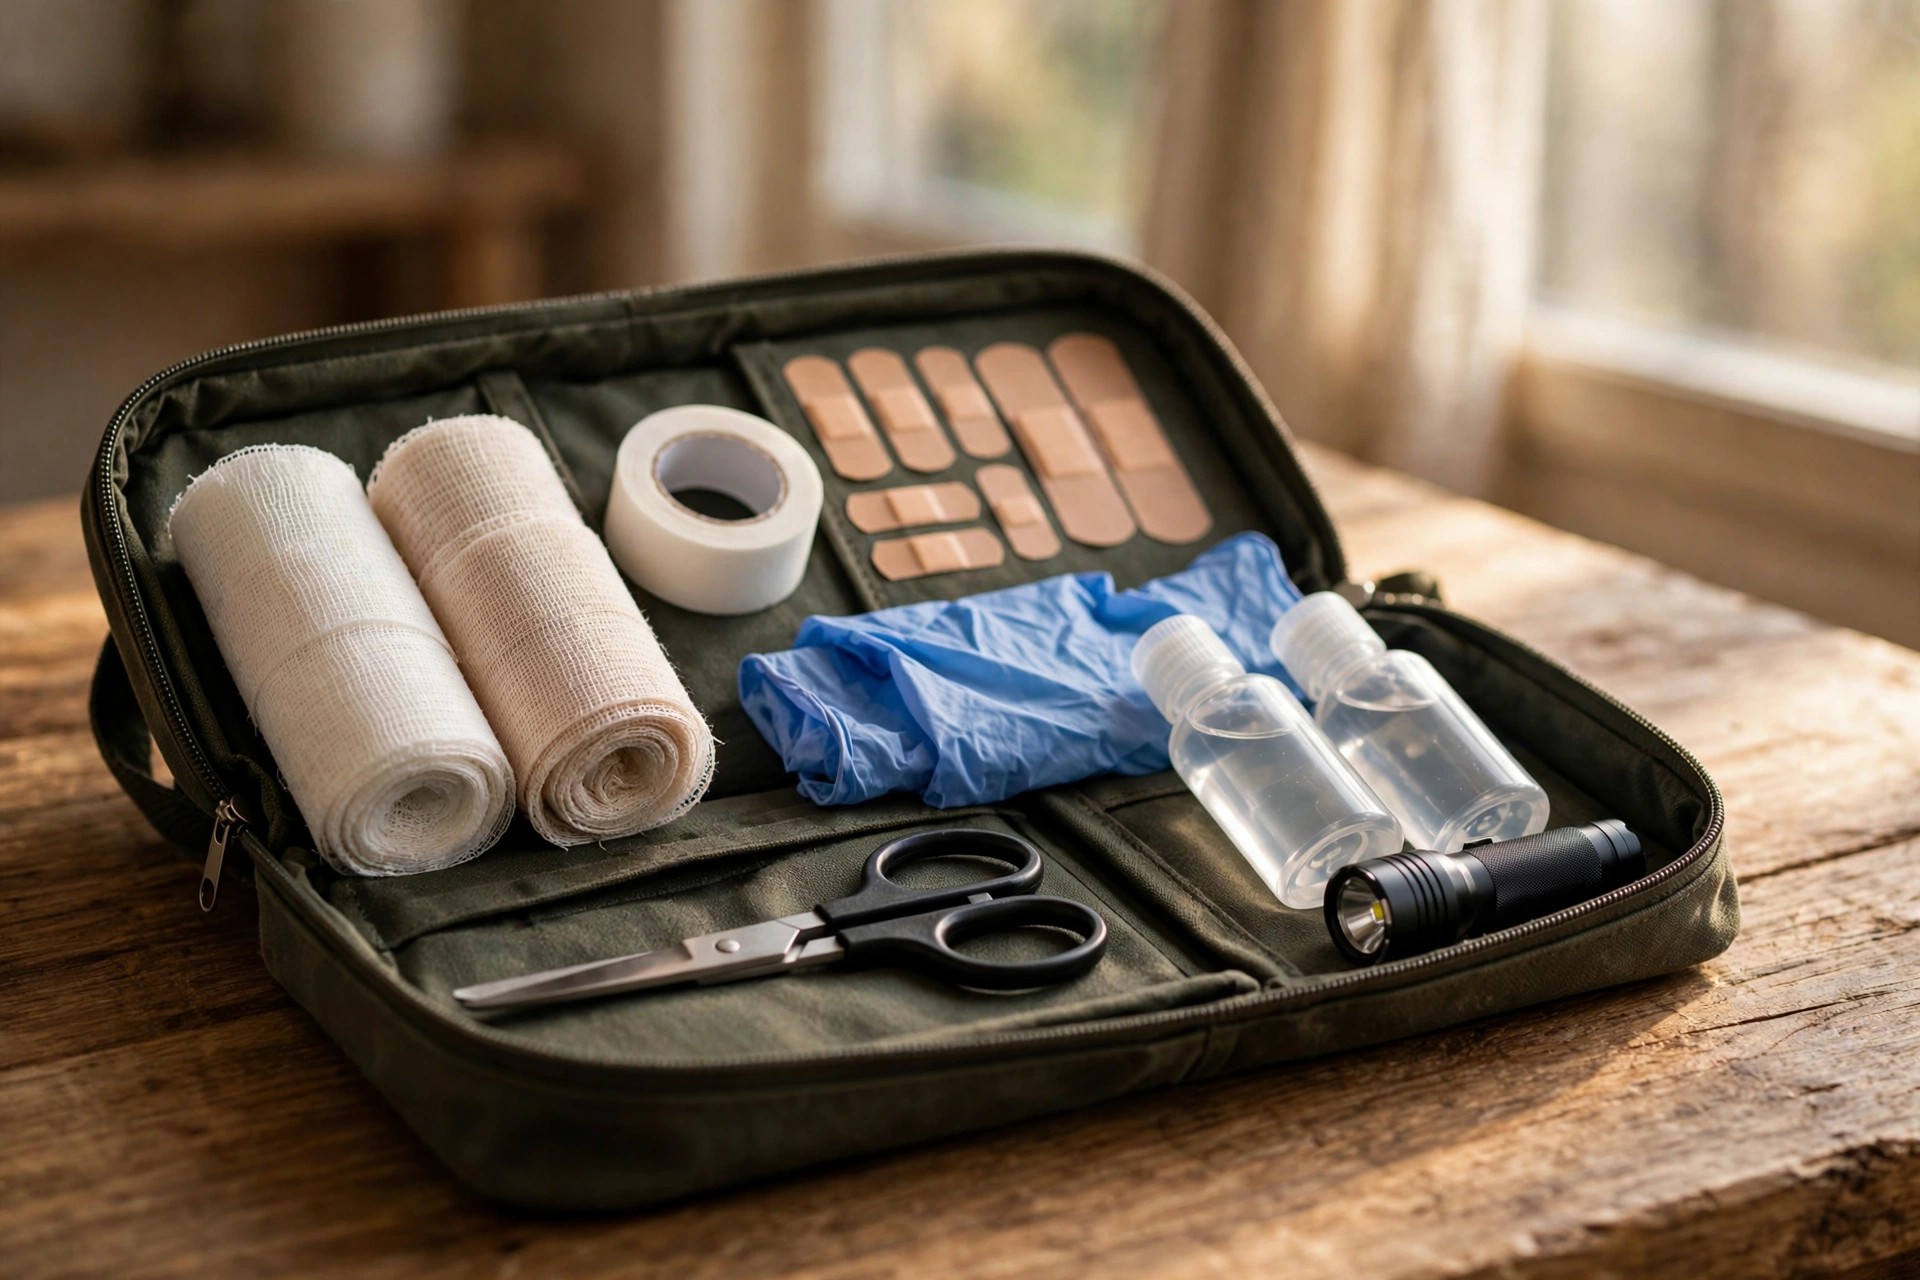
A blister is the smallest injury that can end a trip. It starts as a hot spot, becomes a painful bubble, and if it bursts or gets infected miles from help, every step becomes a negotiation. Blisters are also almost entirely preventable and very treatable with basic kit and a little knowledge. Whether you are hiking, evacuating on foot, or just walking further than usual in an emergency, blister care is a skill worth having before you need it.
Prevention: stop the blister before it starts
Blisters form from friction, heat, and moisture rubbing skin repeatedly in the same spot. The moment you feel a hot spot — a warm, tender patch, usually on a heel or toe — stop and deal with it immediately. That is the single most important rule in blister care: a hot spot treated now is a five-minute job; a blister treated later is a day of pain. Cover the hot spot with moleskin, blister plaster, or even duct tape in a pinch, smoothing it flat so it does not bunch and create a new friction point. Wear socks that fit well, preferably moisture-wicking rather than cotton, which stays wet and increases friction. Break in new boots before a long walk — never start a long walk in brand-new footwear — and keep feet as dry as possible, changing socks when they get soaked. Tape known trouble spots before you set out if you know where you blister, and carry the tape in your pocket, not at the bottom of your bag. Prevention links directly to our first-aid kit guide, because a kit without blister supplies is a kit with a gap.
Treating a blister in the field
- Small, intact blister: leave it intact if possible — the skin roof protects against infection. Cover it with a blister plaster or moleskin with a hole cut over the blister (a “doughnut”) so pressure goes around it, not on it.
- Large, painful blister: if it is very painful or likely to burst on its own, you may drain it: clean the area and your hands, sterilise a needle with a flame or alcohol, prick the edge of the blister, press the fluid out gently, and leave the skin roof in place. Cover with a clean dressing and tape it securely.
- Burst blister: clean it gently with clean water, do not tear off the loose skin — it still protects the raw area — apply a clean dressing, and change the dressing daily or whenever it gets wet or dirty.
- Watch for infection: increasing redness, warmth, swelling, red streaks, pus, or fever mean the blister is infected and needs proper medical attention, not just a new plaster. This is especially important for people with diabetes or poor circulation, who should seek care early for any foot wound.
Keep walking sensibly after treatment: adjust your lacing to relieve pressure on the blister, shorten your stride, and stop again if pain increases sharply. A treated blister that you keep aggravating will burst, and a burst blister on a long walk is an infection risk you do not need. Rest, elevation, and a dry sock change do more good than pushing on. Pair this with the wider outdoor first-aid thinking in our burns and cuts guide, and the small injuries that ruin trips become manageable problems instead of trip-enders.
Finally, keep a tiny blister kit where you can actually reach it: a few strips of moleskin, two blister plasters, and a small roll of tape in a jacket pocket or the hip-belt pocket of your pack. A blister kit buried at the bottom of a bag is a kit you will not use, because nobody stops, unpacks everything, and repacks just to cover a hot spot. The whole point of blister care is speed — treat the hot spot the moment you feel it, while it is still a minor annoyance, and the rest of the walk takes care of itself.
Shop blister care basics
- Moleskin blister pads — the classic hot-spot and blister cover.
- Hydrocolloid blister plasters — cushioning, waterproof blister dressings.
- Moisture-wicking hiking socks — prevention starts with dry feet.
As an Amazon Associate, Alien Bunker earns from qualifying purchases. This page contains affiliate links, which support the site at no extra cost to you.