There’s something incredibly satisfying about peeling a sticker you made yourself off its backing and pressing it perfectly onto a notebook, a jar, or even your car window. Printing your own stickers, labels, and decals at home isn’t just a fun weekend project—it opens up a whole world of creative possibility. Whether you’re dying to personalize your belongings, whip your chaotic pantry into shape, or maybe even launch a tiny small business from your kitchen table, this craft has you covered. With the right materials and a little printer know-how, you can design and print custom pieces that reflect your unique style and actually serve a purpose. In this post, I’m going to walk you through the entire process, step by step, breaking it down by category so you feel confident enough to dive in headfirst. Grab a cup of something cozy, and let’s explore the wonderful world of DIY printing.
Stickers: Get Playful with Custom Designs
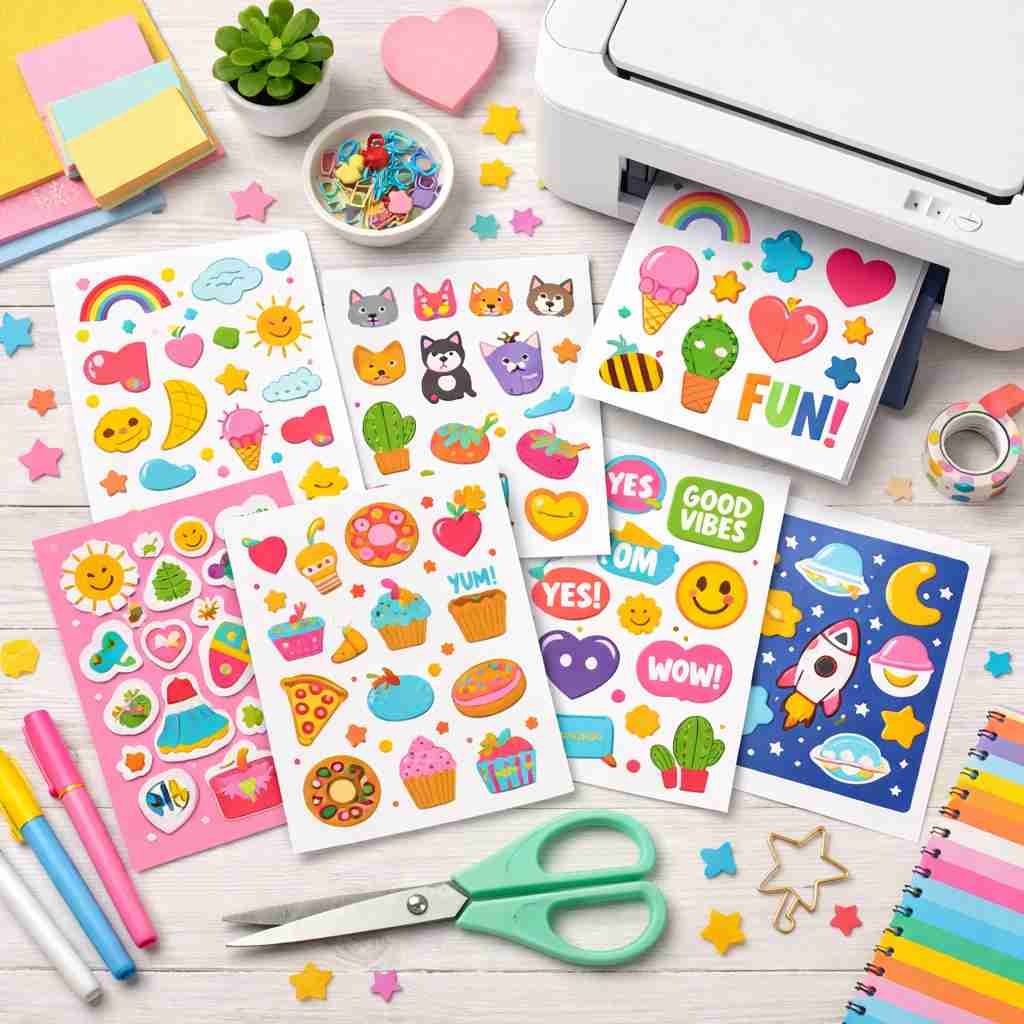
Stickers are like little bursts of joy you can put pretty much anywhere. They let you slap personality onto your laptop, decorate a plain water bottle, seal a handwritten letter with flair, or just bring your original art to life in physical form. Making them at home is surprisingly simple, and you get total control over how they look. Here’s how to get started.
Step 1: Choose the Right Sticker Paper
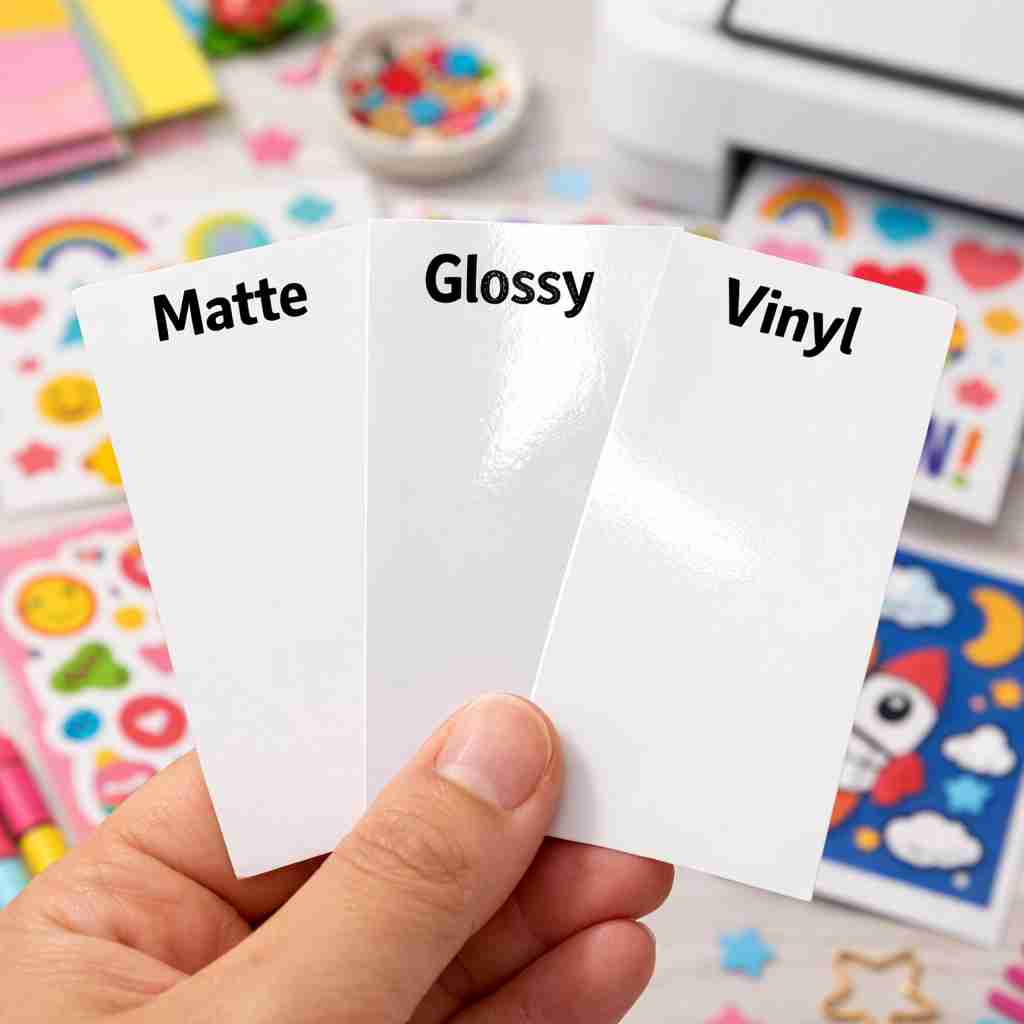
This is the foundation of the whole project, so don’t just grab the first pack you see. Think about your printer type—do you have an inkjet or a laser printer? You need paper specifically made for it. From there, a whole menu of finishes opens up. Matte sticker paper has a soft, almost velvety look and is fantastic for writing on, which makes it perfect for journaling or planner stickers. Glossy paper makes colors pop and feels slick and shiny, great for illustrations and logos. Vinyl sticker paper is the heavy-hitter, giving you a durable, water-resistant, and even weatherproof finish if you’re planning to stick things on outdoor gear or cars. Pick the one that matches your vision.
Step 2: Design Your Stickers
Here’s where you get to play. Fire up whatever graphic design software feels comfortable, whether that’s professional tools like Adobe Illustrator or free, beginner-friendly online platforms like Canva. Pull in your own drawings, favorite fonts, photographs, or fun graphics. Layer text over images, experiment with bold color palettes, and don’t forget to set your document dimensions to match the exact size of your sticker paper sheet. I like to fill the entire canvas with multiple small designs rather than printing them one at a time—it saves paper and feels so satisfying to cut out a whole batch at once.
Step 3: Print and Cut
Before you hit print, do a quick test run on plain copy paper to check colors and layout. Once you’re happy, load your chosen sticker paper into the printer, making sure you know which side gets printed on—it sounds obvious, but I’ve definitely coated the wrong side before and wanted to scream. Print your designs and let them dry for a minute if you’re using inkjet. Then, grab a sharp pair of scissors or a precision craft knife and a cutting mat, and carefully cut out each sticker following its outline. If you plan on doing this often, a small cutting machine like a Cricut is an absolute game-changer for intricate shapes.
Labels: Organize and Customize Everything
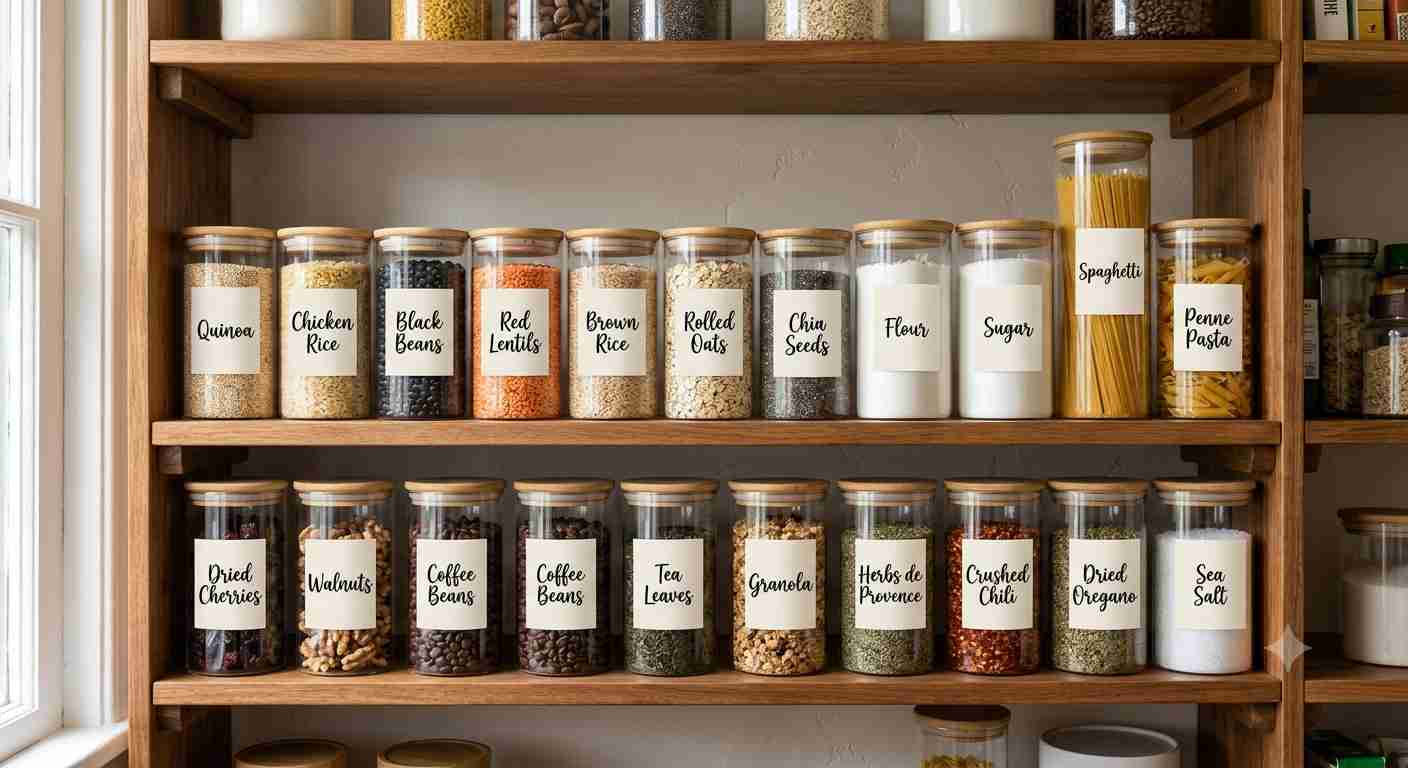
Labels are secretly a superpower. They turn a jumble of mismatched containers into a coordinated, magazine-worthy pantry. They make return address labels feel personal and intentional. They give your homemade candles, jams, or small-batch products a professional edge without blowing your budget. Here’s how to make them happen at home.
Step 1: Choose Label Sheets or Rolls
The format you pick depends entirely on how many you need and what you’re labeling. Label sheets—the standard 8.5×11 pages with pre-cut shapes—are brilliant for smaller batches and individual designs. You can print a sheet of address labels, spice jar tags, or logo stickers quickly and easily. Label rolls work best for high-volume printing, like if you’re churning out product labels or packing a ton of orders. Make absolutely sure the labels are designed for your type of printer, because a laser label run through an inkjet can turn into a smeary, peeling disaster.
Step 2: Design Your Labels
Most label brands offer free templates that match their specific sheet layouts, and honestly, starting with those removes so much guesswork. Open the template in your chosen software and fill each cell with your design. Think about what information matters most—names, addresses, ingredients, a simple “flour” or “coffee beans”—and keep the layout clean and readable. Play with typography to set the mood; a elegant script font feels completely different from a bold, modern sans-serif. Add a tiny logo or a decorative border to make it feel truly custom.
Step 3: Print and Apply
Again, test your layout on plain paper first by holding it up against your label sheet to check alignment. Once it looks perfect, load your label sheets or rolls into the printer and let the magic happen. After printing, peel each label away and smooth it onto its intended surface, whether that’s a glass jar, a file folder, an envelope, or a bin. Take your time applying them to avoid crooked placement and air bubbles—though a little nudge with the edge of a credit card can fix most bubbles instantly.
Decals: Personalize Your Space with Art
Decals feel like a bigger statement. They can transform a plain wall into a focal point, give your shop window some charm, or add subtle branding to your car. Unlike a traditional sticker that often stays on paper or small objects, decals are meant to merge with a surface and look like they belong there. The process is a little different, but still totally doable at home.
Step 1: Choose Decal Material
For almost every project, you’ll want adhesive vinyl made specifically for decals. There’s a key choice here: permanent or removable. Permanent adhesive vinyl is tough and made to last, even outside, so it’s perfect for car windows, mugs that get washed, and storefronts. Removable vinyl peels away cleanly without leaving residue, which is a blessing if you rent your apartment and want to decorate the walls without losing your security deposit. The material should be compatible with your printer, so check the packaging carefully.
Step 2: Design Your Decals
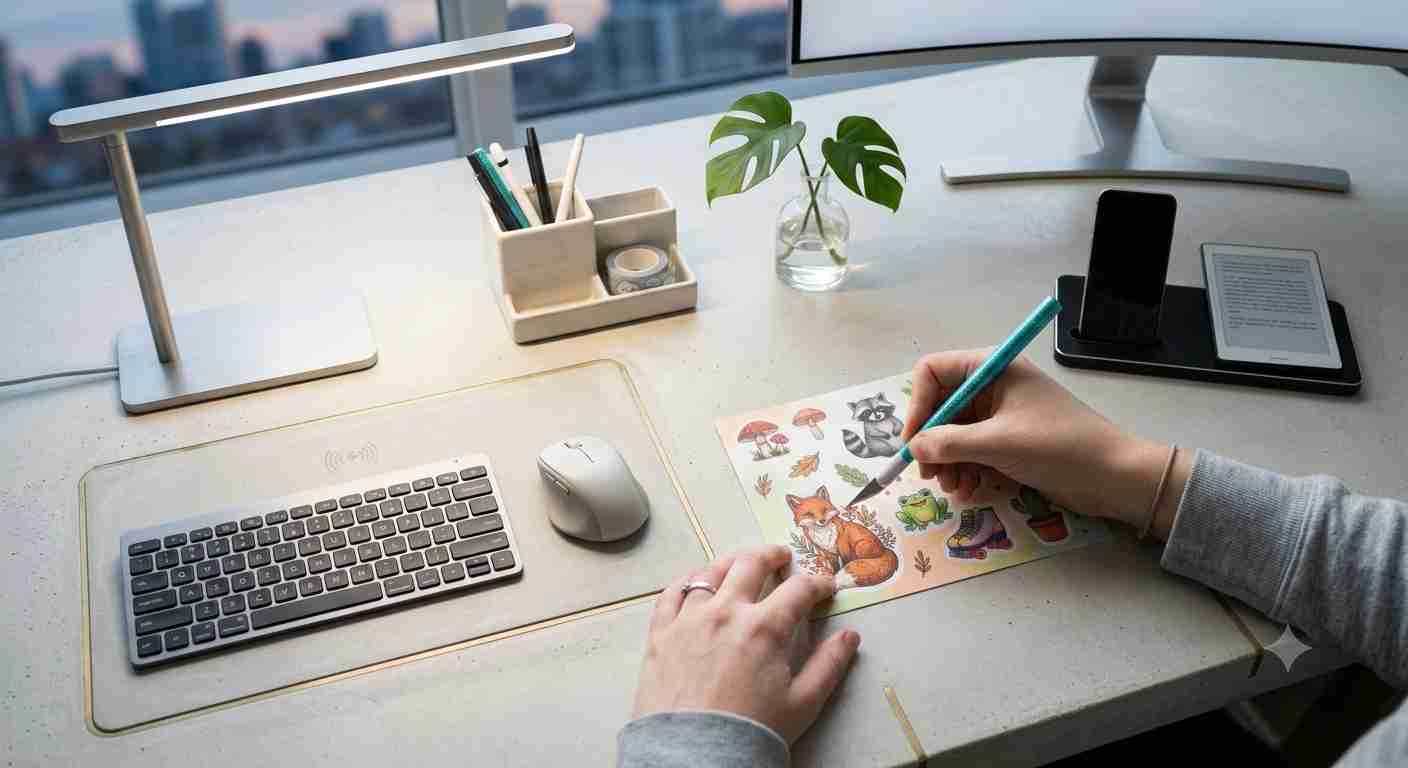
Decals often involve a single, impactful image or phrase rather than a busy pattern. Think about the space where it will live—measure it!—and design something that fits the scale. A tiny decal on a huge wall gets lost, while an oversized design on a small water bottle won’t lie flat. Use your graphic design software to create the artwork, keeping line art and solid shapes in mind, since those often transfer most cleanly. If your design includes text, make sure it’s reversed if you’re printing on clear decal material meant to be applied face-down, but don’t stress about that unless you’re doing window graphics that need to be read from outside.
Step 3: Print and Cut
Load your chosen decal material into the printer carefully; it tends to be a bit thicker and stiffer than regular paper, so avoid forcing it. Print your design and allow the ink to fully dry or cure, especially if you’re using printable vinyl for inkjet printers. Cutting out decals requires patience. You can use scissors for simple shapes, but a cutting machine honestly turns an hour of nerve-wracking trimming into a few minutes of perfectly precise magic.

Step 4: Apply the Decals
The application is where the real transformation happens. First, thoroughly clean the surface you’re sticking to—dust and grease are the enemies of adhesion. Peel the backing away slowly, and if the decal is large, use a technique called the “hinge method” where you peel only a portion at a time, smoothing it down incrementally. Work from the center outward to chase air bubbles to the edges, using a squeegee tool or a sturdy, flat card. Stand back and admire your work once it’s perfectly adhered.
Editor’s note
Printing your own stickers, labels, and decals at home is basically the adult version of arts and crafts—only now you get to smell printer ink instead of glue sticks. It’s the perfect marriage of making something real while bossing your computer around to do the design heavy lifting. Armed with the right paper, a foolproof plan, and maybe a snack for morale, you can slap your personality on anything: laptops, pantry jars, or that one wall that’s been judging you. Whether you’re decorating, organizing, or plotting the launch of your sticker empire, each print is a chance to leave your quirky fingerprint on the world. So, rev up that printer, embrace the confetti of paper scraps, and make something gloriously unnecessary—but absolutely you.
