
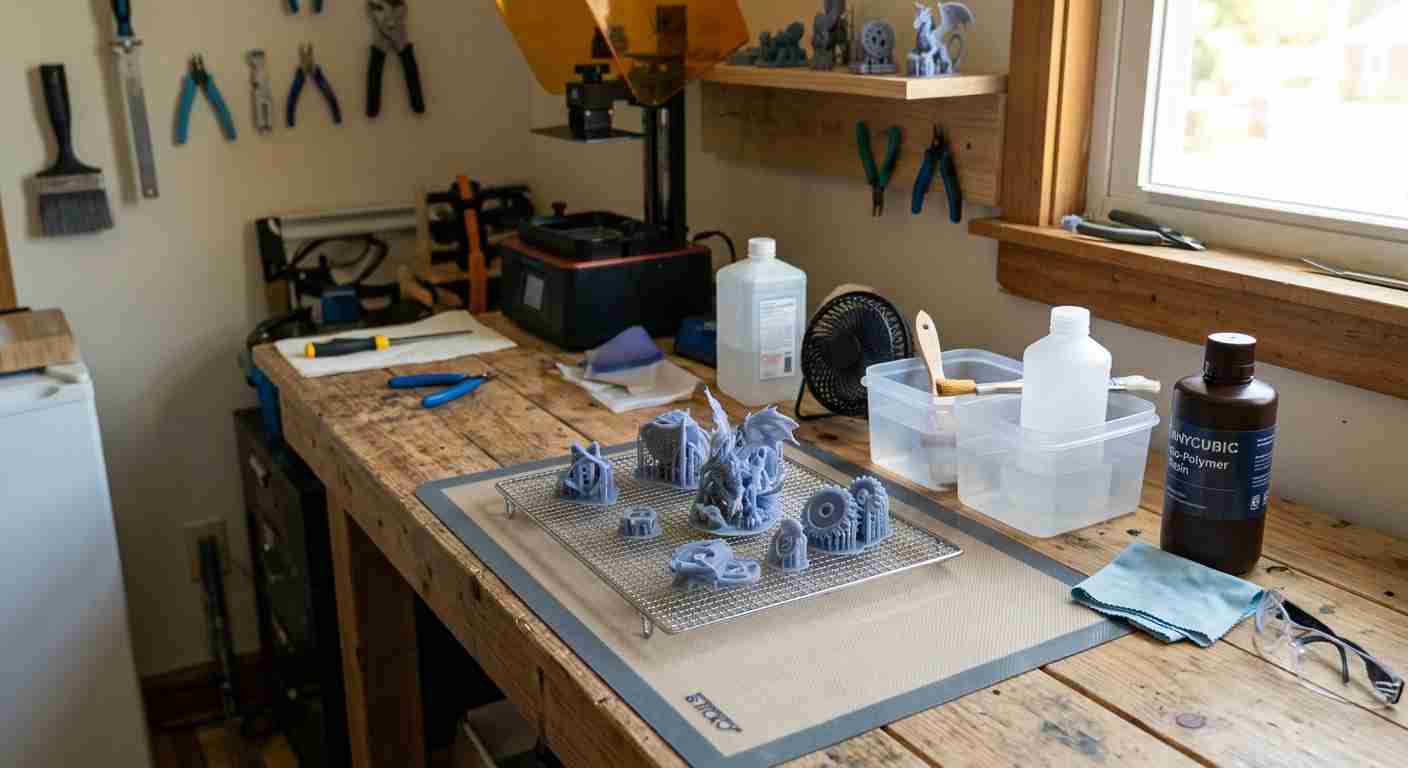
7 Cheap DIY Methods That Actually Work
You just pulled your beautiful SLA print off the build plate. It looks perfect—crisp details, smooth surfaces, no layer lines. But if you pop it under a desk lamp and walk away for five minutes, you might as well throw it in the trash. Uncured resin is toxic, sticky, and will ruin your model faster than a dropped build plate. The problem? You don’t have a $200 UV curing chamber. Maybe you’re on a budget, or maybe you just didn’t think you’d need one. Either way, you need to cure that print, and you need to do it right now. Don’t worry. In this guide, I’ll show you seven dirt-cheap DIY methods to cure resin 3D prints without a commercial UV chamber. Some of these use stuff you already have lying around. Others cost less than a pizza. All of them work. Let’s get your prints hard, durable, and ready for sanding, painting, or display.
What Is the Problem? Understanding Why Curing Matters
Let’s start with the basics. When you finish a resin print on your SLA printer, the model is still “green.” That means the resin has been partially cured by the UV light during printing, but it’s not fully hardened. The chemical reaction isn’t complete. If you don’t finish curing it, your print will stay soft, tacky, and weak. Over time, it might even warp or crack. Worse, uncured resin is a skin irritant and toxic if ingested. So curing isn’t optional—it’s essential.
The ideal solution is a UV curing chamber. These boxes flood your print with UV light from all angles, ensuring even curing. But they’re expensive. A decent one costs $150 to $300. For hobbyists or people just starting out, that’s a big chunk of change. The good news? You don’t need one. The UV light spectrum that cures resin is the same whether it comes from a $300 chamber or a $10 nail lamp. The difference is intensity and coverage. With a little creativity, you can mimic the results of a commercial chamber for pennies on the dollar.
But there’s a catch. If you don’t cure your print evenly, you’ll end up with a model that’s rock hard on one side and sticky on the other. That’s why the methods below focus on rotating the print, using reflective surfaces, or combining light sources. Follow these steps, and you’ll get a perfectly cured print every time.
7 Step-by-Step Solutions for Curing Without a UV Chamber
Method 1: The Sun Cure (Free but Tricky)
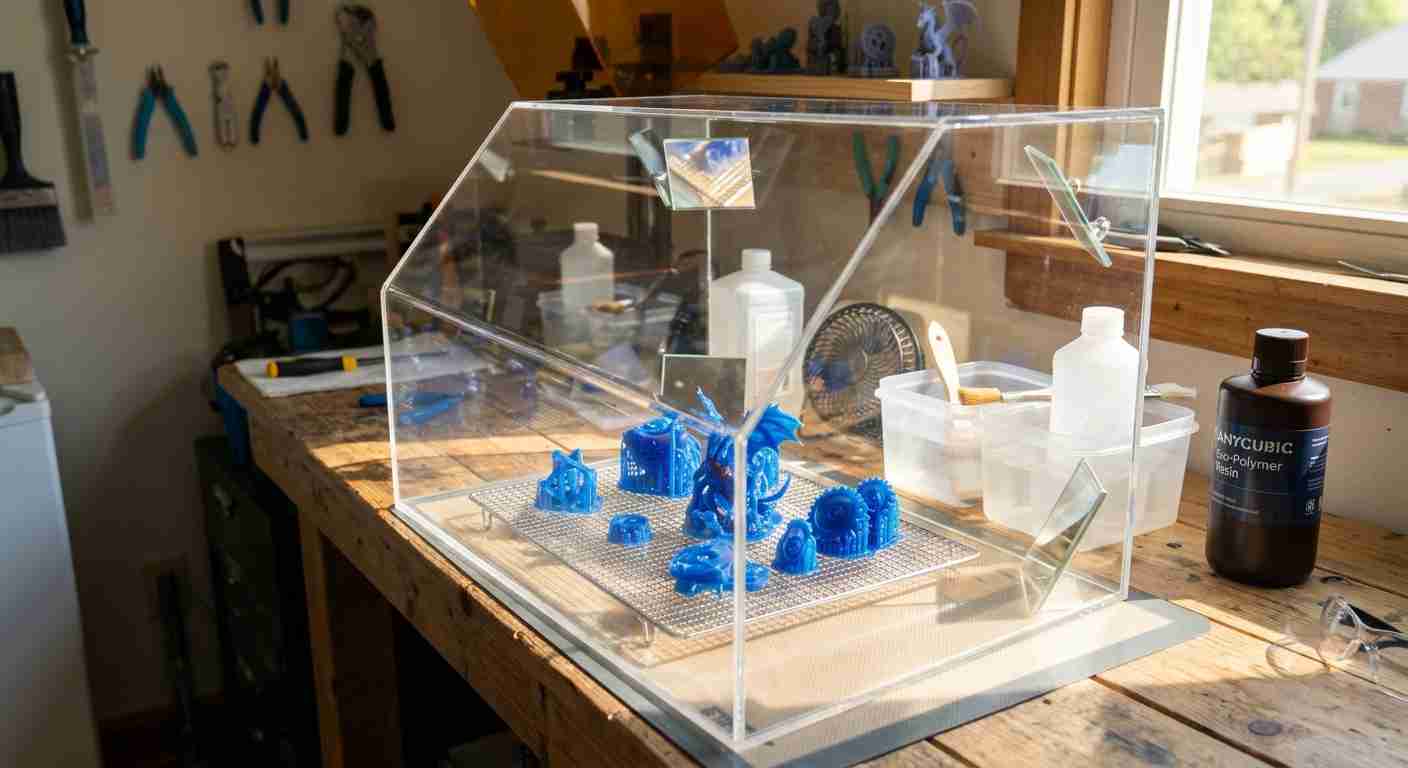
Yes, the sun is a giant UV bulb. And it’s free. But using it well takes technique.
What you need: A sunny day, a clear plastic container, and a way to rotate your print (like a turntable or a lazy Susan).
Steps:
- Clean your print thoroughly with isopropyl alcohol (IPA) to remove any uncured resin on the surface. This is critical—if you skip this, the uncured resin will cure into a sticky, cloudy mess.
- Place the print on a turntable inside a clear plastic container. The container protects it from dust and bugs.
- Put the container in direct sunlight. Rotate the print every 5–10 minutes to ensure even exposure.
- Total curing time: 15–30 minutes on a bright day. On cloudy days, it might take an hour or more.
Pros: Completely free. Works well for small to medium prints.
Cons: Weather-dependent. UV rays are weaker in winter or at high latitudes. You can’t control the intensity, so you might over-cure or under-cure. Also, UV rays fade colors, so your print might yellow slightly.
Pro tip: Rotate the print every 5 minutes. Even 10 minutes without rotation can leave a “shadow” line where the print was unevenly cured.
Method 2: The UV Nail Lamp Hack (Under $20)
UV nail lamps are designed to cure gel polish. They emit UV light in the 365–405nm range, which is exactly what resin needs.
What you need: A UV nail lamp (any brand works), a small turntable or a piece of cardboard to rotate the print.
Steps:
- Clean your print with IPA.
- Place the print inside the nail lamp. If it’s a small lamp, you might need to cure one section at a time.
- Set a timer for 5 minutes. Rotate the print 90 degrees after each cycle.
- Repeat until the entire print has been exposed for at least 15–20 minutes total.
Pros: Very cheap ($10–$20). Works great for small prints like miniatures, jewelry, or keychains. Portable.
Cons: Not suitable for large prints. The UV bulbs are low power, so curing takes longer. You absolutely must rotate the print to avoid uneven curing.
Pro tip: Place a piece of aluminum foil inside the lamp to reflect UV light onto the bottom of the print. This helps cure hidden areas.
Method 3: The DIY Cardboard Box Rotisserie (Under $10)
This is the most popular method among budget resin printers. It’s simple, effective, and uses parts you probably already have.
What you need: A cardboard box (any size), aluminum foil, a skewer or wooden dowel, a small motor or a manual turntable (like a cake turntable), and a UV light source (like a UV LED strip or a UV flashlight).
Steps:
- Line the inside of the cardboard box with aluminum foil, shiny side out. The foil reflects UV light, ensuring it hits the print from all angles.
- Cut a hole in the top or side of the box for your UV light source. A UV LED strip works best because you can wrap it around the inside of the box.
- Insert a skewer through the print (or use a support structure) and mount it on a turntable. If you have a small motor, attach it to slowly rotate the print. If not, manually rotate the turntable every 5 minutes.
- Seal the box. Turn on the UV light. Let it run for 15–30 minutes, rotating as needed.
Pros: Extremely cheap. Customizable to any size print. The reflective foil ensures even curing.
Cons: Requires some DIY assembly. Manual rotation is tedious. UV light strips can be a fire hazard if left on too long (but generally safe if you use low-power strips).
Pro tip: Buy a cheap UV LED strip on Amazon for $10. Stick it to the inside of the box in a spiral pattern. This gives you 360-degree UV coverage.
Method 4: The UV Flashlight Method (Under $15)
If you only have a UV flashlight, you can still cure prints. This method is slow but works for small to medium models.
What you need: A UV flashlight (365nm or 405nm), a dark room, and a turntable.
Steps:
- Clean your print with IPA.
- Place the print on a turntable in a dark room. The darkness prevents ambient light from interfering.
- Shine the UV flashlight on the print from about 6–12 inches away. Rotate the print slowly as you move the flashlight around.
- Continue for 10–15 minutes per side. Total time: 30–60 minutes for a small print.
Pros: Very cheap. Portable. Good for spot-curing (fixing small sticky areas).
Cons: Slow. Uneven coverage if you’re not careful. You might miss hidden areas. The flashlight gets hot after prolonged use.
Pro tip: Use a “wand” style UV flashlight with a wide beam. Narrow-beam flashlights create hot spots that over-cure one area while leaving another sticky.
Method 5: The Resin Wash and Cure Station Dupe (Under $30)
You can build a DIY wash and cure station that works almost as well as the $200 commercial ones.
What you need: A 5-gallon bucket, a UV LED strip (5 meters), a turntable (like a cake turntable), and a lid.
Steps:
- Wrap the UV LED strip around the inside of the bucket. Use adhesive or tape to hold it in place.
- Place the turntable at the bottom of the bucket.
- Put your cleaned print on the turntable. Close the lid.
- Turn on the UV strip. Let it run for 15–20 minutes. Rotate the turntable manually or use a motor.
Pros: Large enough for medium-sized prints. Even UV coverage. Cheap to build.
Cons: Requires some assembly. The UV strip might not be powerful enough for very thick prints. You need to seal the lid well to prevent UV leakage.
Pro tip: Add a small fan to the bucket to keep the air moving. This prevents the print from getting too hot, which can cause warping.
Method 6: The Microwave Oven Hack (Use with Extreme Caution)
This is a controversial method, but it works in a pinch. Do NOT put resin in a microwave you use for food. The fumes are toxic, and you’ll ruin the appliance.
What you need: A dedicated microwave oven (from a thrift store), a glass container, and water.
Steps:
- Fill a glass container with water. Place your cleaned print in the water.
- Microwave on low power (10–20% power) for 30 seconds. Check the print. Repeat until cured.
- Total time: 2–5 minutes for small prints.
Pros: Extremely fast. The water helps distribute heat evenly.
Cons: Dangerous. Resin can overheat and crack. The microwave must be dedicated to this purpose only. Not recommended for large prints.
Pro tip: Only use this method for small, simple shapes. Complex prints with thin walls will shatter.
Method 7: The Oven Cure (Low Temp, Long Time)
Heat also cures resin, though UV is faster. This method is good for prints that need extra hardness.
What you need: An oven, a baking sheet, aluminum foil.
Steps:
- Preheat your oven to 150°F (65°C).
- Place your cleaned print on a foil-lined baking sheet.
- Bake for 30–60 minutes. Check every 15 minutes to prevent warping.
Pros: Works for all sizes. Adds extra strength.
Cons: Slow. Risk of warping if temperature fluctuates. Can make the print brittle if overdone.
Pro tip: Combine this with a UV cure. First, cure with UV for 15 minutes, then oven cure for 30 minutes. This gives you the best of both worlds.
Comparison Table: Which DIY Method Is Best for You?
| Method | Cost | Time | Best For | Difficulty |
|---|---|---|---|---|
| Sun Cure | Free | 15–30 min | Small to medium prints | Easy |
| UV Nail Lamp | $10–$20 | 15–20 min | Small prints (miniatures) | Easy |
| Cardboard Box Rotisserie | $5–$10 | 15–30 min | Medium prints | Medium |
| UV Flashlight | $10–$15 | 30–60 min | Small prints, spot curing | Easy |
| DIY Wash & Cure Station | $20–$30 | 15–20 min | Medium to large prints | Medium |
| Microwave Oven | $20 (thrift store) | 2–5 min | Small, simple shapes | Hard (dangerous) |
| Oven Cure | Free (if you have oven) | 30–60 min | All sizes, extra hardness | Easy |
FAQ: Your Curing Questions Answered
Q1: How do I know when my resin print is fully cured?
Touch the print. If it feels hard, dry, and non-sticky, it’s likely cured. You can also check by pressing a fingernail into it—if it leaves a mark, it needs more time. For a more precise test, use a hardness gauge (Shore D) if you have one. Most hobbyists rely on the touch test.
Q2: Can I over-cure a resin print?
Yes. Over-curing makes the resin brittle and can cause yellowing. It can also warp thin parts. Stick to the recommended times for your resin brand (usually 15–30 minutes in a UV chamber). For DIY methods, err on the side of slightly less time—you can always cure more.
Q3: Do I need to clean the print before curing?
Absolutely. If you skip the IPA wash, uncured resin on the surface will cure into a sticky, cloudy film. This ruins the surface finish. Always wash your print in 99% IPA for 5–10 minutes before curing. Some people use a water wash if they’re using water-washable resin, but IPA is more effective.
Q4: My print is sticky after curing. What went wrong?
This usually means the print wasn’t cleaned well enough, or it wasn’t cured long enough. Wash it again in IPA, then cure for another 10–15 minutes. If it’s still sticky, you might have used a resin that requires a specific wavelength (e.g., 405nm). Check your resin’s specifications.
Q5: Can I cure transparent resin without it turning yellow?
Transparent resins are prone to yellowing, especially with cheap UV lights. To minimize this, use a UV light with a 405nm wavelength (not 365nm). Cure in short bursts (5 minutes at a time) and avoid prolonged exposure. Some brands like Anycubic Clear are less prone to yellowing than others.
EDITOR’S NOTE
I’ve been printing with SLA resin for three years now. I started with a cheap UV flashlight and a cardboard box. I won’t lie—it was frustrating. My first few prints came out sticky, cloudy, or cracked. I almost gave up. But then I discovered the rotisserie method, and everything changed. There’s something satisfying about building your own curing station from a pizza box and duct tape. It feels like you’re hacking the system. And when you pull out a perfectly cured miniature that looks store-bought, you realize you didn’t need to spend $200 on a fancy chamber. You just needed patience and a little creativity.
That said, if you plan to print a lot, consider saving up for a commercial UV chamber. They’re faster, more reliable, and give consistent results. But for now, these DIY methods will get you there. Just remember: safety first. Wear gloves. Cure in a well-ventilated area. And don’t microwave resin in your kitchen oven unless you’re ready to buy a new one.
Summary: Your Cheat Sheet for Perfect DIY Curing
- Always clean your print with IPA before curing. This is the most common mistake beginners make.
- Rotate your print. Uneven curing leads to sticky spots and warping. Use a turntable or rotate manually every 5 minutes.
- Use reflective surfaces. Aluminum foil inside a cardboard box reflects UV light onto hidden areas.
- Match the wavelength. Most resins cure best at 405nm. Check your resin’s label before buying a UV light.
- Don’t over-cure. 15–30 minutes is usually enough. More than an hour can make the print brittle.
- Start with small prints. Practice on miniatures or test pieces before moving to large models.
- Combine methods for best results.

Leave a Reply