
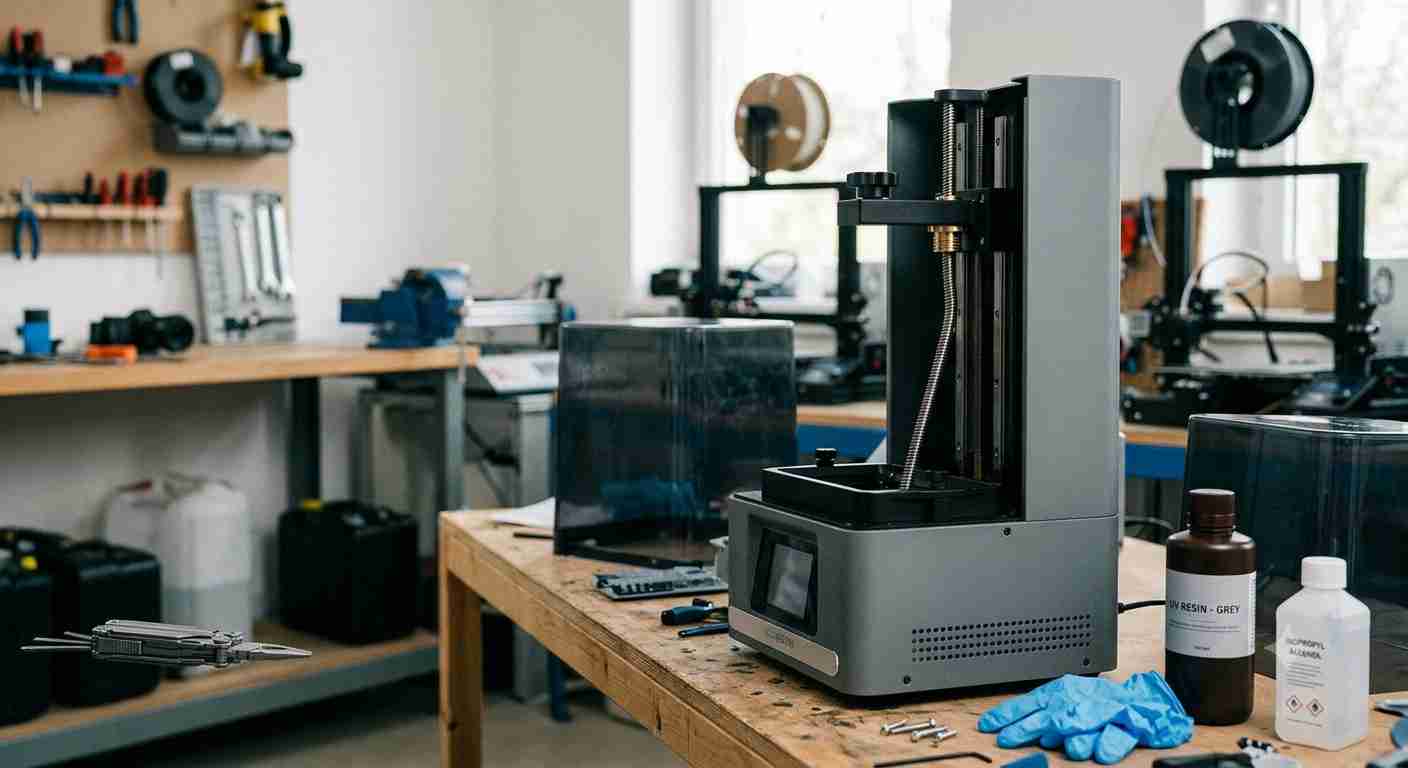
You just started a 12-hour resin print of a miniature dragon. Two hours in, you hear a grinding noise. You rush over and see your print platform sagging on one side, the layers misaligned like a crooked skyscraper. Your heart sinks. The culprit? A bent Z-axis lead screw. It’s one of the most frustrating issues in SLA (stereolithography) resin printing, but it’s also fixable. In this guide, we’ll walk you through exactly how to diagnose, straighten, or replace a bent lead screw, saving your prints and your sanity. Let’s dive in.
What Is a Bent Z-Axis Lead Screw and Why Does It Happen?
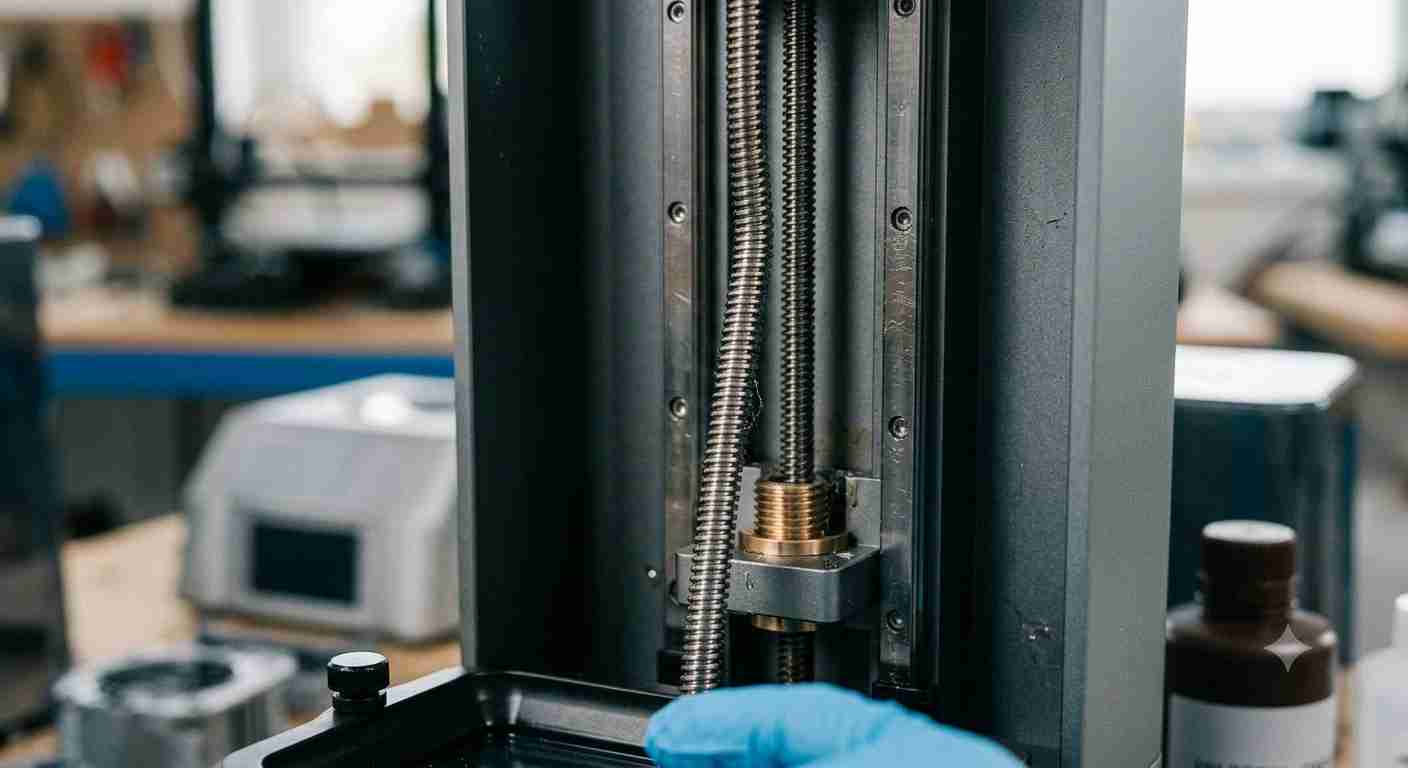
Your SLA resin printer uses a Z-axis lead screw—a long, threaded rod—to raise and lower the build platform with extreme precision. Each layer of your print is only 0.01 to 0.05 mm thick, so even a tiny bend in the screw causes the platform to wobble. This leads to layer shifting, uneven curing, and failed prints that look like a melted mess.
Bent lead screws happen for several reasons:
- Shipping damage: If you bought a budget resin printer (like the Anycubic Photon Mono or Elegoo Mars), the lead screw might arrive bent from rough handling.
- Over-tightening: Cranked too hard on the coupler or platform screws? That bends the screw over time.
- Accidental impact: Dropped the printer or bumped it while moving? A fall can tweak the screw.
- Wear and tear: Years of printing can cause minor bends from uneven stress.
A bent lead screw isn’t the end of the world. In fact, many resin printer users fix it in under an hour with basic tools. Let’s get your printer back to producing perfect layers.
7 Step-by-Step Solutions to Fix a Bent Z-Axis Lead Screw
Before you start, gather these tools:
- Allen wrenches (usually 2.0 mm and 3.0 mm for most printers)
- Small hammer or mallet
- Flat surface (like a piece of glass or granite)
- Calipers or a ruler
- Isopropyl alcohol and a rag
- Replacement lead screw (if straightening fails)
Table: Common SLA Printer Lead Screw Specs
| Printer Model | Lead Screw Length | Thread Pitch | Coupler Type |
|---|---|---|---|
| Anycubic Photon Mono 4K | 200 mm | 4 mm | Flexible (rubber) |
| Elegoo Mars 3 Pro | 220 mm | 4 mm | Rigid (metal) |
| Phrozen Sonic Mini 8K | 180 mm | 3 mm | Flexible (rubber) |
| Creality Halot One | 200 mm | 4 mm | Rigid (metal) |
Step 1: Diagnose the Bend
First, you need to confirm the lead screw is bent, not just dirty or misaligned. Remove the vat and build platform. Manually rotate the lead screw by hand (use the coupler or top of the screw). Watch the screw from the side. If you see a wobble—it moves side-to-side more than 0.5 mm—it’s bent. For precision, place a ruler against the screw and rotate it. The gap will change as it turns.
Checklist:
- ☐ Screw wobbles visibly when rotated?
- ☐ Print layers are shifted or uneven?
- ☐ Grinding noise during Z-axis movement?
- ☐ Platform sags on one side?
If you checked two or more, proceed to Step 2.
Step 2: Remove the Lead Screw
Power off the printer and unplug it. Remove the build platform and vat. Locate the coupler—the part connecting the lead screw to the stepper motor (usually near the bottom). Use an Allen wrench to loosen the coupler’s set screws. Then, slide the lead screw upward out of the coupler. Be careful not to bend it further during removal. Place it on a soft cloth or towel.
Step 3: Straighten the Screw (The Gentle Method)
This is the most common fix. Place the lead screw on a perfectly flat surface, like a piece of glass. Roll it gently. The bent spot will lift off the surface. Mark the area with a marker. Now, use your hands to gently bend it back in the opposite direction. Apply slow, steady pressure—don’t snap it. Re-roll it on the glass. Repeat until the screw lies flat with no gaps. This works for minor bends (less than 1 mm).
Step 4: Straighten with a Mallet (For Stubborn Bends)
If hand bending doesn’t work, use a small hammer or mallet. Place the lead screw on a hard, flat surface (like a workbench). Position the bent spot over a hole or edge (so it has room to move). Tap gently with the mallet—soft strikes, not hard blows. Check flatness after each tap. This method is riskier; too much force can snap the screw. Go slow.
Step 5: Clean and Lubricate
Once straightened, clean the lead screw with isopropyl alcohol and a rag. Wipe off all old grease and debris. Then, apply a thin layer of PTFE lubricant or white lithium grease. This reduces friction and prevents future binding. Reinstall the screw into the coupler, tightening the set screws evenly. Don’t overtighten—just snug.
Step 6: Recalibrate the Z-Axis
After reinstalling, you must recalibrate the Z-axis. Home the printer (raise the platform to the top). Then, lower it manually until the platform touches the FEP film (use a piece of paper as a gauge). Adjust the Z-endstop or firmware offset. Most resin printers have a “Z=0” setting in the menu. Follow your printer’s leveling guide for exact steps. Run a test print—a small calibration cube or coin—to check layer alignment.
Step 7: Replace the Lead Screw (Last Resort)
If straightening fails or the screw is severely bent (bent more than 2 mm), replace it. Order a replacement from your printer’s manufacturer (Anycubic, Elegoo, Phrozen) or a generic lead screw with the same length and thread pitch. Cost is usually $10–$25. Installation is the reverse of removal. After replacement, recalibrate again. This is a permanent fix and often the best option for peace of mind.
For more tips on maintaining your SLA printer, check out our guide on preventing FEP sticking issues.
FAQ: Bent Z-Axis Lead Screw
Q1: Can I print with a slightly bent lead screw?
Technically, yes, but prints will have layer shifting, especially tall ones. For small models (under 2 inches), the wobble might be negligible. For larger prints, fix it first. You’ll waste resin otherwise.
Q2: How do I prevent bending in the future?
Handle your printer gently. Avoid over-tightening screws. Use a flexible coupler (rubber) instead of a rigid one—it absorbs minor misalignments. Also, keep the lead screw clean and lubricated every 50 prints.
Q3: Is a bent lead screw covered under warranty?
Yes, if it arrived bent (shipping damage). Contact the seller within 30 days. If it bent from misuse (dropping, overtightening), warranty likely won’t cover it. Replacement screws are cheap anyway.
Q4: Can I use a different lead screw from another printer?
Only if the length, thread pitch, and diameter match exactly. Mismatched screws cause binding or inaccurate layer height. Measure your original screw with calipers before ordering.
Q5: What if the stepper motor is damaged too?
If the motor makes grinding noises even with a straight screw, the motor bearings may be worn. Replace the motor (typically $15–$30). Test the motor by running it without the screw attached—if it spins smoothly, it’s fine.
(EDITOR’S NOTE)
I remember the first time I bent a lead screw on my Elegoo Mars. In my rush to start a print before a trip, I overtightened the platform and heard a sickening “pop.” The print failed, and I spent an hour in a panic. But after a cup of coffee and a few YouTube tutorials, I carefully straightened it on a piece of glass. That printer still runs perfectly two years later. The takeaway? Don’t panic—resin printing is a hobby of patience and small fixes. A bent screw is just a minor bump in the road, not the end of the journey.
Summary
A bent Z-axis lead screw on your SLA resin printer causes layer shifting, wobbling, and failed prints. But it’s fixable. Diagnose the bend by rotating the screw and looking for wobble. Remove it, straighten it gently on a flat surface (or with a mallet), clean and lubricate it, then recalibrate. If straightening fails, replace the screw for $10–$25. Future-proof your printer by using a flexible coupler, avoiding over-tightening, and lubricating regularly. With these steps, you’ll be back to printing flawless miniatures, jewelry, or prototypes in under an hour.
For more printer troubleshooting, read our guide on fixing Epson error codes—keeping all your tech in top shape.

Leave a Reply