
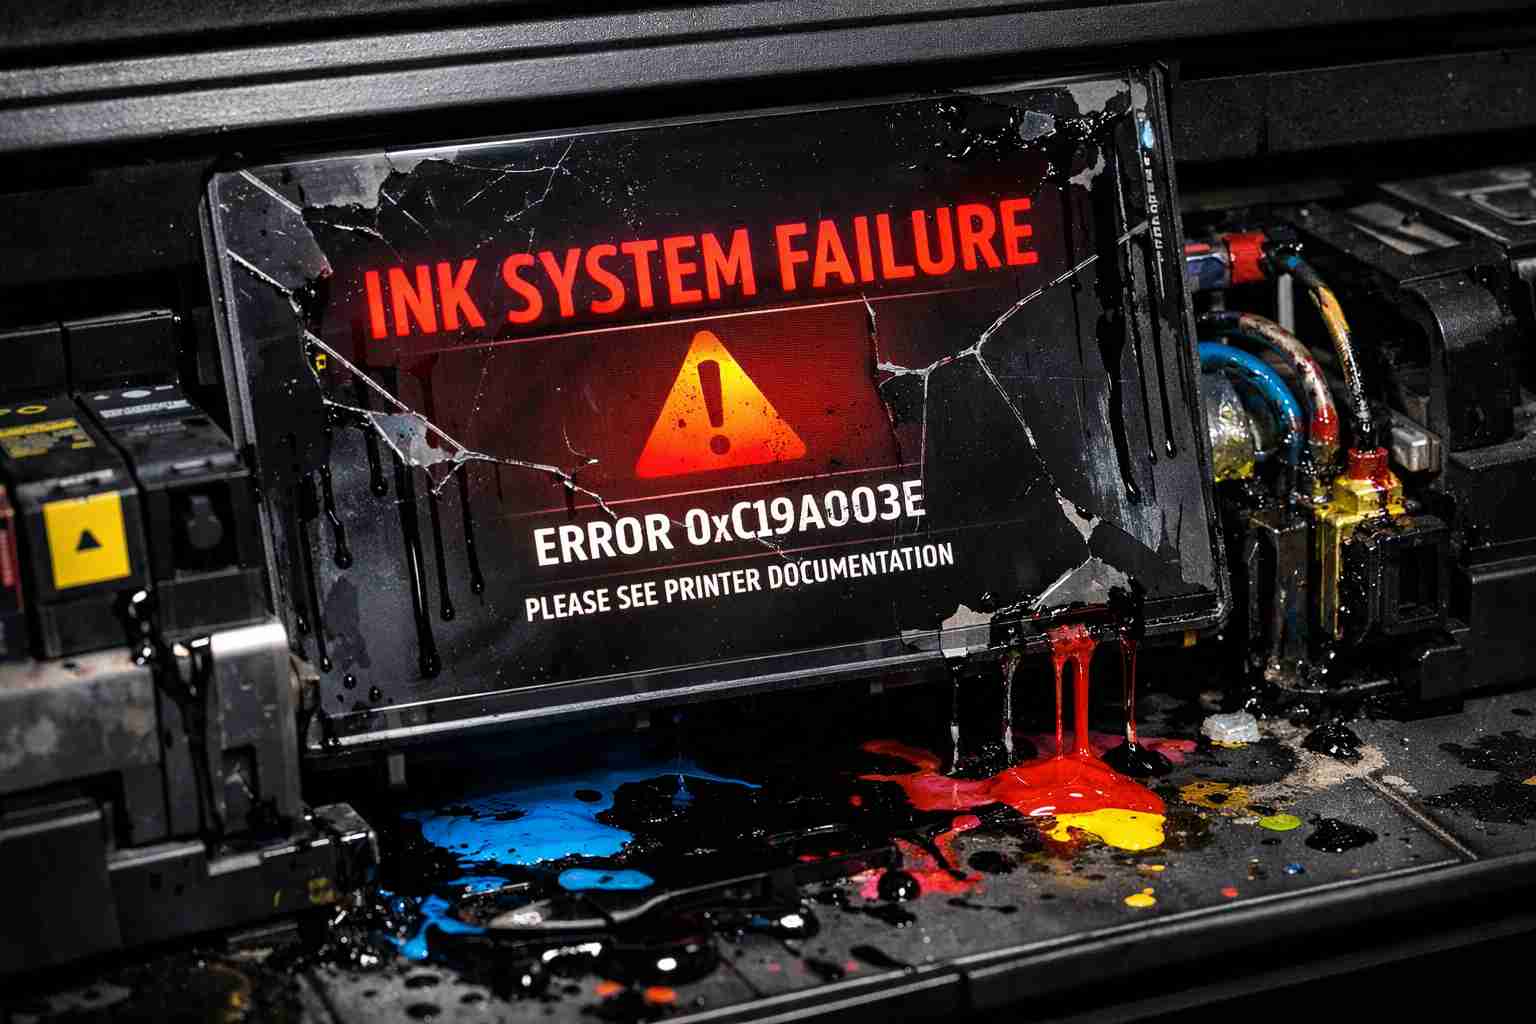
Epson Printer Error Code 0xF1: The “Ink System Failure” – Can You Bypass It or Is It Game Over?
You’re in the middle of printing a crucial document—maybe a boarding pass, a work report, or a last-minute school project—when your Epson printer suddenly freezes. A cryptic error code flashes on the screen: 0xF1. The printer stops dead, and no amount of button mashing or power cycling seems to fix it. Sound familiar? You’re not alone. This error, often labeled as an “Ink System Failure,” is one of the most dreaded and confusing errors Epson users face. It typically signals a problem with the printer’s internal ink delivery system, often related to the waste ink pad or a critical sensor failure. But here’s the kicker: Error 0xF1 isn’t always a death sentence for your printer. In many cases, it can be bypassed with a few technical tricks, a reset, or a component swap. In this guide, we’ll break down what 0xF1 really means, walk you through 5-7 actionable solutions, and help you decide if it’s time to call it quits or fight for a few more prints.
What Is Epson Error Code 0xF1?
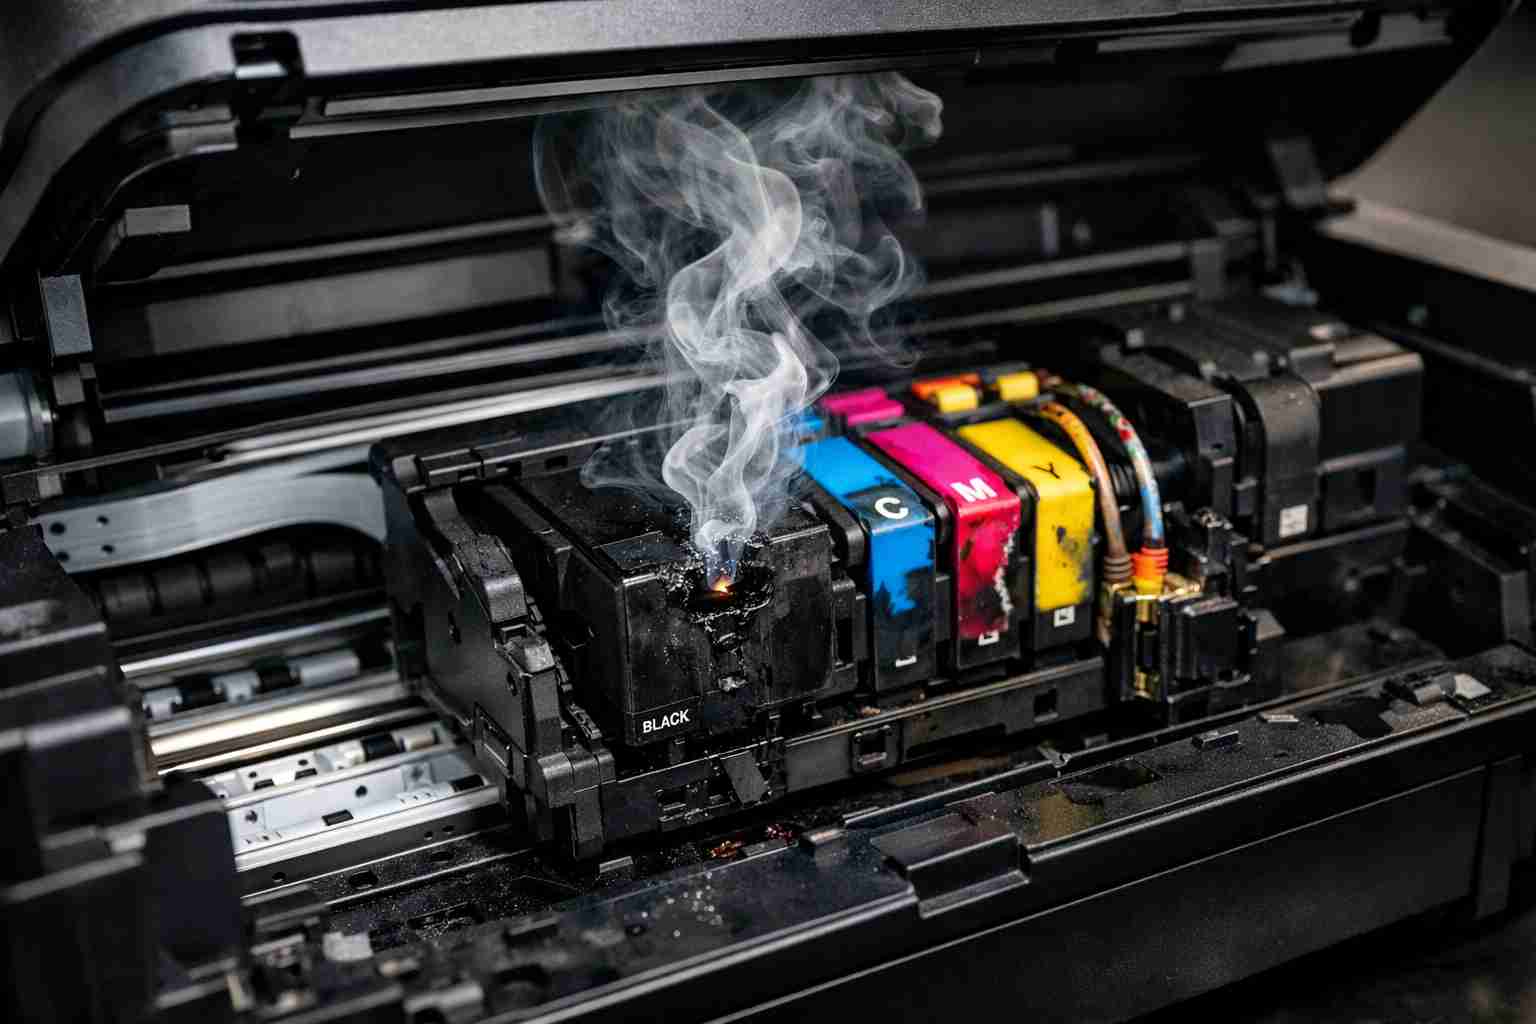
At its core, Epson error code 0xF1 is a catch-all error that indicates a serious problem with the printer’s ink system maintenance unit. To understand it, you need to know that your Epson printer doesn’t just spray ink onto paper. It also has a hidden “cleaning station” that sucks excess ink from the print head during cleaning cycles. That waste ink is stored in a sponge-like pad called the waste ink pad (or maintenance box). When that pad gets too saturated, a sensor trips, and the printer throws code 0xF1 to protect itself from ink overflow.
However, 0xF1 can also be triggered by other issues, including:
- Faulty ink cartridges that the printer can’t recognize or communicate with.
- A stuck or misaligned print head carriage that prevents the cleaning cycle from completing.
- Corrupted firmware that misreads sensor data.
- Electrical failures on the mainboard or the ink system sensor.
Because the error is vague, many users panic and assume their printer is dead. But in reality, the fix is often simpler than you think—especially if you’re willing to get your hands a little dirty. Let’s dive into the step-by-step solutions, starting with the easiest and most common fixes.
7 Step-by-Step Solutions to Fix Epson Error 0xF1
Before you begin, turn off your printer and unplug it from the power source. Safety first! Also, have a clean, flat workspace and some paper towels handy—ink spills can happen.
Solution 1: Perform a Hard Reset (The Quick Fix)
Sometimes, error 0xF1 is just a glitch caused by a temporary software hiccup. A hard reset clears the printer’s memory and can reset the sensor flags.
- Unplug the printer from the wall outlet and from the printer itself (if detachable).
- Wait at least 60 seconds (some models require 5 minutes for full discharge).
- While unplugged, press and hold the printer’s Power button for 30 seconds to drain any residual charge.
- Plug the printer back in and turn it on. If the error is gone, you’re lucky. If not, move on.
Solution 2: Check and Replace Ink Cartridges
A faulty or expired ink cartridge can confuse the printer’s ink system and trigger 0xF1. This is especially common if you use third-party or refilled cartridges.
- Open the printer cover and let the print head carriage move to the center.
- Remove all ink cartridges one by one. Inspect them for leaks, damage, or dried ink on the contacts.
- Clean the gold or copper contacts on the cartridges with a dry lint-free cloth (do not use water or alcohol).
- Reinstall the cartridges firmly until you hear a click. Close the cover.
- If the error persists, try installing a brand-new set of genuine Epson cartridges. Many users report that this alone resolves 0xF1.
Solution 3: Manually Reset the Waste Ink Pad Counter (The Most Common Fix)
This is the big one. Error 0xF1 is almost always tied to the waste ink pad counter reaching its limit. You can reset this counter using specialized software like WIC Reset Utility or EPSON Adjustment Program. Note: This requires a computer and a USB cable.
- Download and install a compatible reset tool for your specific printer model. (Search for “WIC Reset” or “Epson Adjustment Program” for your model.)
- Launch the software and connect your printer to the computer via USB.
- Follow the on-screen instructions to read the waste ink counter value. It will likely show a number above 100% (e.g., 150% or higher).
- Click the “Reset” or “Initialize” button. The software will zero out the counter.
- Turn your printer off, wait 10 seconds, and turn it back on. If the error is gone, you’ve saved your printer—for now. But remember, the physical waste ink pad is still saturated. You’ll need to replace it soon (see Solution 5).
Solution 4: Clean the Print Head Carriage and Sensor
Sometimes, a blob of dried ink or a small piece of paper can block the carriage from moving freely, which confuses the ink system sensor. A physical cleaning can resolve this.
- Unplug the printer and remove all ink cartridges.
- Gently slide the print head carriage to the left and right to check for obstructions. Use a flashlight to inspect the metal rail and the sensor area (a small plastic tab near the carriage path).
- Dampen a lint-free cloth with isopropyl alcohol (90% or higher) and wipe the carriage rail clean. Also, clean the encoder strip (a thin, clear plastic strip with markings) if you see ink on it.
- Reinstall the cartridges and plug the printer in. Test by printing a nozzle check pattern.
Solution 5: Replace the Waste Ink Pad (Maintenance Box)
If the reset worked but you want a permanent fix, or if the reset fails, you’ll need to replace the physical waste ink pad. On some Epson models, this is a user-serviceable “maintenance box” that you can buy online. On others, you’ll need to open the printer and replace a sponge pad.
- Identify your printer model and search for “waste ink pad replacement kit” or “maintenance box.”
- If your printer has a dedicated maintenance box (common in EcoTank models), follow the manufacturer’s instructions to swap it out.
- If not, you’ll need to disassemble the printer. Watch a YouTube tutorial specific to your model. Typically, you’ll remove the bottom panel, locate the sponge pad (often in a plastic tray), and replace it with a new one or clean it thoroughly with hot water and dry it completely.
- After replacement, run the waste ink pad reset again (Solution 3) to tell the printer the pad is fresh.
Solution 6: Update or Reinstall Firmware
Corrupted firmware can cause the printer to misinterpret sensor data, leading to false 0xF1 errors. Updating or reinstalling firmware can fix this.
- Go to the Epson Support website and enter your printer model.
- Download the latest firmware update file (usually a .exe or .bin file).
- Follow the instructions to update the firmware via USB. Do not turn off the printer during the update—this can brick your printer.
- If the error persists, you can try a firmware downgrade (if available) or a factory reset through the printer’s menu (Settings > Restore Defaults).
Solution 7: Check for Electrical Component Failure (Advanced)
If none of the above works, the problem may be a hardware failure on the mainboard (logic board) or the ink system sensor. This requires opening the printer and using a multimeter to test continuity. If you’re not comfortable with electronics, skip this and consider professional repair or replacement.
- Unplug the printer and open the case. Locate the mainboard (usually at the back or bottom).
- Check for visible damage like burnt components, bulging capacitors, or loose connectors.
- Use a multimeter to test the ink system sensor (a small switch near the waste ink pad). If it’s shorted or open, replace it.
- If the mainboard is fried, you can buy a replacement board online (search for “Epson [model] mainboard”) and swap it yourself. This is often cheaper than a new printer but requires patience.
FAQ: Your Burning Questions About Error 0xF1
Q1: Can I ignore error 0xF1 and keep printing?
No. The printer will refuse to print until the error is cleared. Ignoring it can also cause ink to leak inside the printer, damaging internal components.
Q2: Will resetting the waste ink counter damage my printer?
No, but it’s a temporary fix. If you don’t replace the physical pad, ink will eventually overflow and cause a mess. Resetting the counter is safe if you monitor the pad’s condition.
Q3: Do I need to use genuine Epson cartridges to avoid 0xF1?
Not necessarily, but cheap third-party cartridges are a common trigger. They can leak, have incorrect chips, or clog the print head. If you use third-party ink, always buy from reputable brands and check compatibility.
Q4: How long does a waste ink pad last before hitting 0xF1?
It depends on usage. On average, it lasts 10,000 to 20,000 pages or 1-2 years of normal home use. Heavy printing (like photos or business documents) can fill it faster.
Q5: Is it cheaper to fix error 0xF1 or buy a new printer?
If you have a budget printer under $100, it’s often not worth the hassle—buying new is easier. But if you own a high-end model like an Epson EcoTank or a WorkForce Pro, fixing it (especially by resetting the counter) can save you hundreds of dollars.
Editor’s note
I have seen firsthand what printer wars can do. On one particular Saturday, my Epson XP-440 threw up an error code 0xF1 right when we were going to spend a whole weekend printing photos for the whole family. After going through everything on the Internet possible, and using the software reset WIC Reset to bring it back to life, I managed to succeed … temporarily. Three months later, the beast came alive once again and I had to take the cover off of it and replace the sponge pad. Ink all over the place, death by a plastic clip and some very choice words later, I saved myself $150. My recommendation – if you have time and skill, try the software reset first. And if nothing helps and you do not want to disassemble your printer, unplug it!
Summary
Epson error code 0xF1 is a frustrating but often fixable problem. It’s usually caused by a full waste ink pad, a faulty cartridge, or a firmware glitch. By following the steps in this guide—starting with a simple hard reset and moving to the software-based waste ink counter reset—you can resolve the error in most cases. Remember these key takeaways:
- Don’t panic. 0xF1 is not always the end of your printer.
- Try the software reset first. It’s the most common fix and costs nothing if you download the right tool.
- Replace the physical pad if you want a permanent solution.
- Know when to quit. If the printer is old or cheap, replacing it might be the smarter move.
For more printer troubleshooting guides, check out our posts on Epson Error Code 0xEA and How to Fix a Printer That Won’t Recognize Ink Cartridges. Have you successfully fixed error 0xF1? Share your experience in the comments below—your story might help someone else avoid a trip to the electronics store.
| Solution | Difficulty | Time Required | Success Rate |
|---|---|---|---|
| Hard Reset | Easy | 2 minutes | 10% |
| Replace Ink Cartridges | Easy | 5 minutes | 25% |
| Waste Ink Counter Reset | Medium | 15 minutes | 80% |
| Clean Carriage/Sensor | Medium | 20 minutes | 30% |
| Replace Waste Ink Pad | Hard | 1 hour | 95% |
| Firmware Update | Easy | 10 minutes | 15% |
| Electrical Repair | Expert | 2+ hours | 50% |

Leave a Reply