
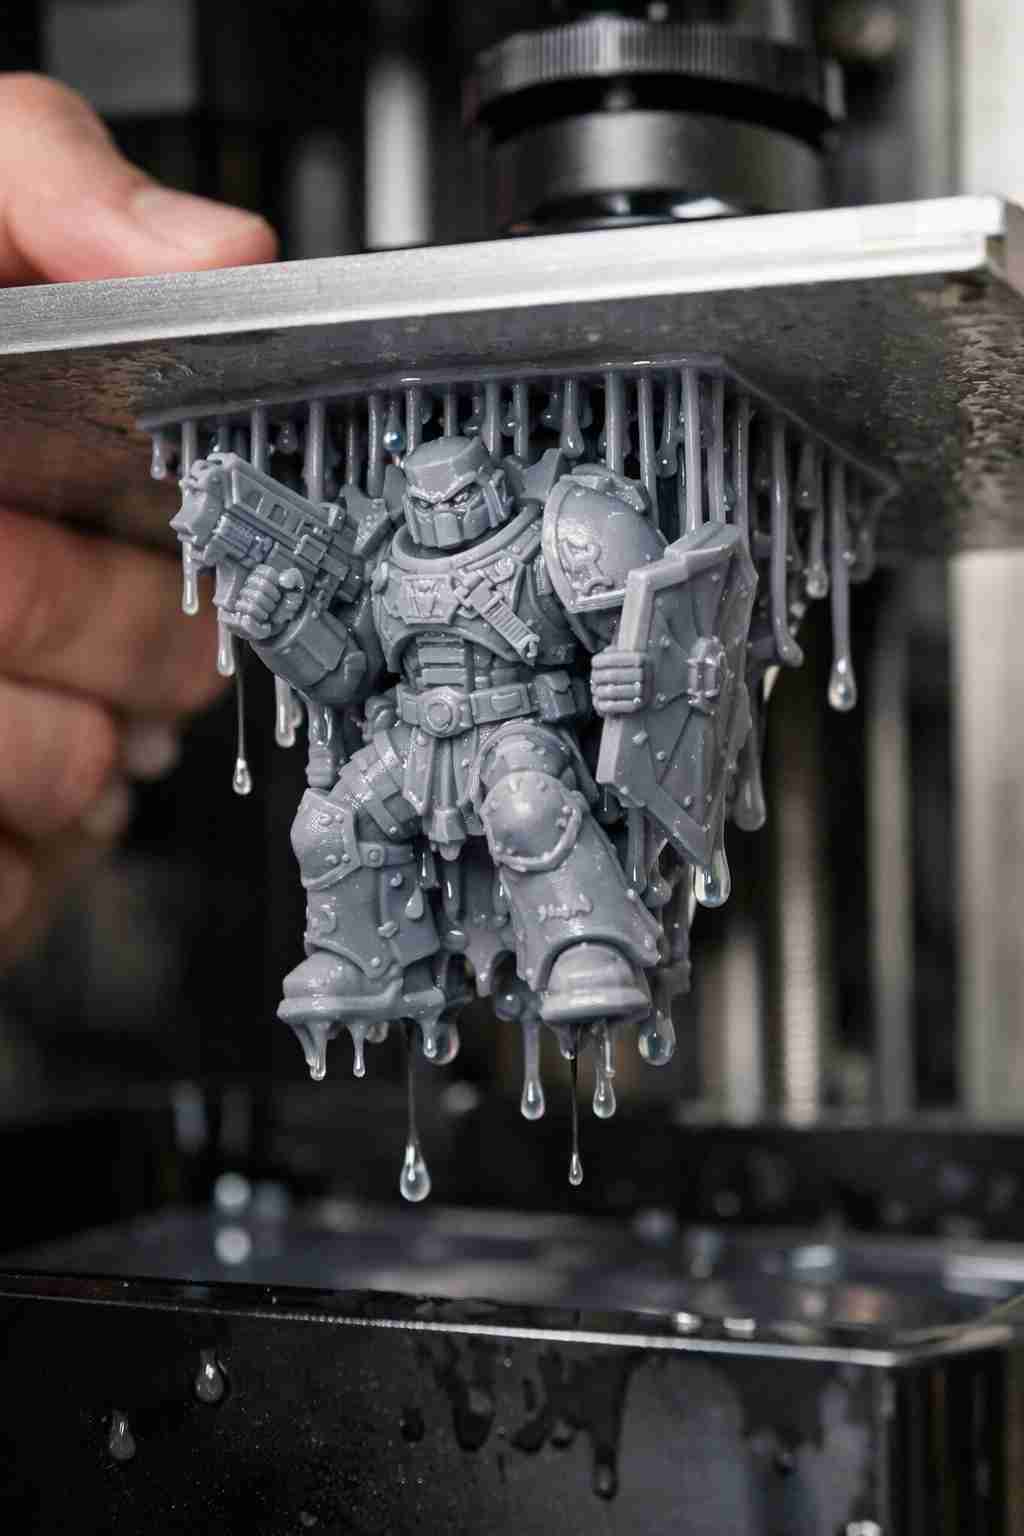
You’ve just finished a 12-hour resin print. You pop the lid, expecting a perfect mini or prototype. Instead, you find a hardened puddle of goo on the FEP film, and the build plate is completely bare. The print stuck to the release liner, not the plate. Welcome to the most infuriating failure in SLA 3D printing.
This guide is your rescue manual. We’ll cover why prints stick to the FEP, how to fix it permanently, and what to do when your build plate adhesion fails completely. By the end, you’ll never waste a print to this common problem again.
What Is the Problem? The “Stick-to-FEP” Disaster
In resin 3D printing, your build plate moves up and down in a vat of liquid resin. Each layer is cured by a UV light or laser. For the print to succeed, the freshly cured layer must stay stuck to the build plate (or the previous layer) while the FEP film peels away. When adhesion fails, the layer stays on the FEP instead of the plate. This is called a “FEP stick” or “print release failure.”
The result? A failed print, a messy FEP film that may need replacement, and wasted resin. The root causes are almost always related to surface energy, exposure settings, or mechanical issues.
7 Step-by-Step Solutions to Fix FEP Adhesion Problems
Here are the most effective fixes, ranked from easiest to most advanced. Try them in order.
1. Sand Your Build Plate for Better Grip
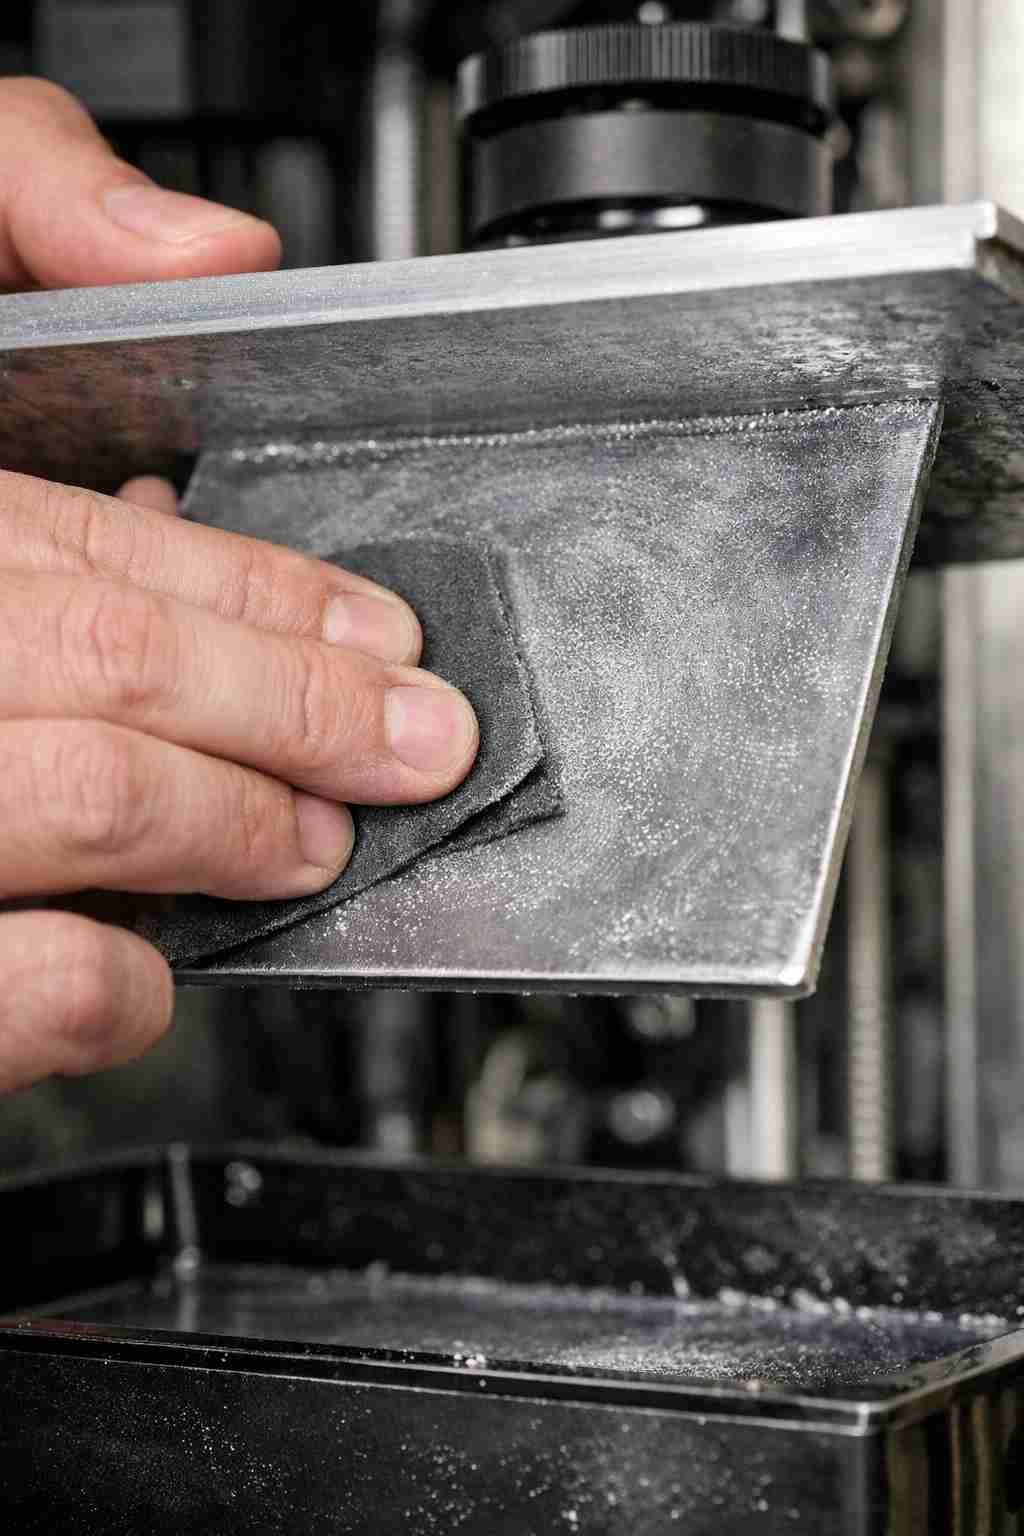
Brand-new build plates are often too smooth. Resin needs a rough surface to mechanically lock onto. Use 220-grit sandpaper and sand the plate in a circular motion for 2-3 minutes. Rinse with IPA and dry. This instantly increases adhesion.
Pro tip: Re-sand every 50-100 prints to maintain grip.
2. Increase Base Layer Exposure Time
Your first 4-6 layers (called “base layers” or “burn-in layers”) need more UV exposure to bond firmly to the plate. Most resins work well with 30-45 seconds per base layer. If you’re using a standard resin like Anycubic Standard or Elegoo Standard, try 40 seconds. For transparent resins, go up to 50 seconds.
Here’s a quick reference table:
| Resin Type | Base Layer Exposure (seconds) | Normal Layer Exposure (seconds) |
|---|---|---|
| Standard (Grey) | 35-45 | 2.5-3.5 |
| Transparent | 40-50 | 3-4 |
| Flexible | 45-55 | 4-6 |
| High-temp | 50-60 | 4-5 |
3. Level Your Build Plate Perfectly
An unlevel plate causes uneven pressure on the FEP. Follow your printer’s manual for leveling, but here’s a universal method:
- Loosen the build plate screws.
- Place a piece of paper on the screen.
- Home the plate manually.
- While pressing down on the plate, tighten the screws.
- Test with a piece of paper—it should have slight resistance when pulled.
4. Reduce Lift Speed for First Layers
If your plate lifts too fast, the suction force rips the print off. In your slicer, set the bottom lift speed to 20-30 mm/min. Normal lift speed can stay at 60-80 mm/min. This gives the resin time to release from the FEP without tearing.
5. Use a Flexible Build Plate
Flexible magnetic build plates (like Wham Bam or Sovol) are game-changers. They bend slightly during release, reducing peel force. They also make removing finished prints easier. Install one correctly, and FEP sticks become rare.
6. Replace Your FEP Film (It’s Probably Worn Out)
FEP films degrade over time. Scratches, cloudiness, or stretching all increase adhesion. If you’ve printed 50+ liters of resin or see visible wear, replace the FEP. Use 0.1mm thickness for most printers. Install it with slight tension—too loose and it sags, too tight and it wrinkles.
7. Check Your Resin Temperature
Cold resin is thick and viscous. It doesn’t flow well between layers, increasing suction force. Keep your resin at 20-25°C (68-77°F). Use a space heater or a resin heater band if your printing area is cold. Warm resin releases from FEP much easier.
FAQ: 5 Common Questions About FEP Sticking
Q1: Can I use PTFE lubricant on my FEP film?
Yes, but carefully. Apply a tiny drop of PTFE-based lubricant (like Super Lube) to the FEP, then wipe it almost completely dry. The microscopic film left reduces sticking. Don’t overdo it—excess lube causes cloudiness.
Q2: Why does my print stick to the FEP but not the build plate?
This usually means your build plate isn’t rough enough or your base exposure is too low. Try sanding the plate and increasing base exposure by 10-15 seconds.
Q3: How often should I change my FEP film?
Every 2-4 months or every 40-60 prints, whichever comes first. If you see scratches, dents, or cloudiness, change it immediately.
Q4: Will adding a raft help?
Yes. A raft (a thick base under your model) increases surface area on the build plate, improving adhesion. Use 4-6 raft layers with 0.5mm thickness.
Q5: Can I use hairspray on the build plate?
Some users do, but it’s messy and can contaminate resin. Stick to sanding and proper exposure settings instead.
EDITOR’S NOTE
After five years of resin printing and countless failed prints due to FEP sticking, I finally found a game-changing solution. Sanding the build plate and switching to a flexible plate completely transformed my results. In the colder months, I keep a small space heater near the printer to maintain optimal conditions. These simple adjustments dropped my failure rate from 30% to under 5%. It turns out you don’t need costly equipment—just patience, the right settings, and a few smart tweaks.
Summary
FEP sticking is the #1 killer of resin prints, but it’s completely fixable. Start by sanding your build plate and increasing base exposure. Then check your leveling, lift speed, and resin temperature. If problems persist, replace the FEP film or add a flexible build plate. With these 7 steps, you’ll save hours of failed prints and liters of wasted resin.
Remember: your build plate needs to be rough, your base layers need extra UV, and your resin needs to be warm. Follow these rules, and your prints will release perfectly every time.

Leave a Reply