
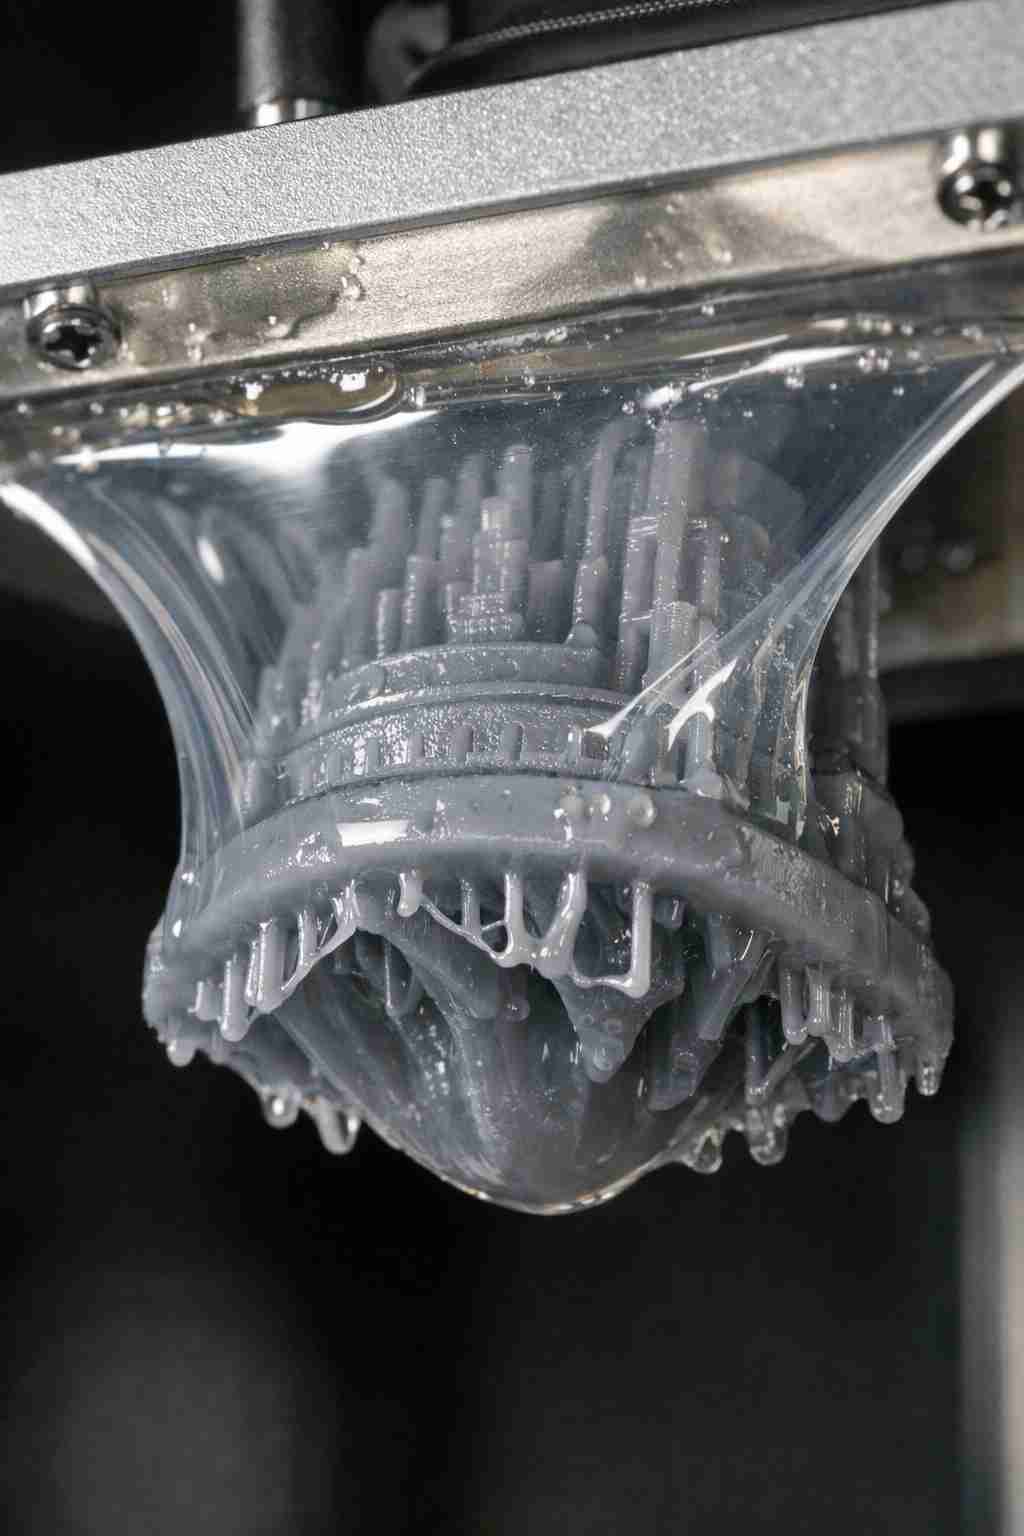
Resin 3D Print Sticking to FEP: The Ultimate Guide to Saving Your Prints (And Your Sanity)
You’ve leveled the bed, mixed the resin, and hit “print.” But when the build plate rises, all you see is a sad, flat pancake of cured resin stuck to the FEP film. If you’re here, you’ve met the single most frustrating problem in SLA printing. Let’s fix it—for good.
Resin 3D printing is a magical hobby—until your print decides it likes the bottom of the vat better than the build plate. Print failure due to resin sticking to the FEP (fluorinated ethylene propylene) film is the #1 reason beginners rage-quit. But here’s the good news: it’s almost always preventable. In this guide, I’ll walk you through seven battle-tested fixes, from simple leveling tricks to advanced lubricant hacks. By the end, you’ll have a checklist that guarantees your next print actually sticks where it should.
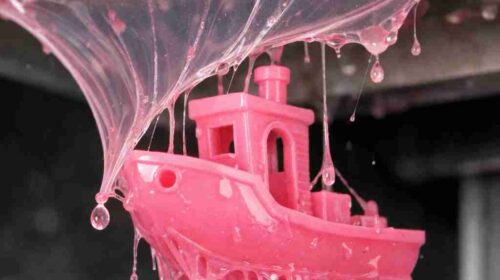
What Is the Problem? (And Why It Happens)
In SLA (stereolithography) printing, your build plate dips into a vat of liquid resin. A UV laser or LCD screen cures the resin onto the plate, then the plate lifts up. The FEP film at the bottom of the vat is supposed to release the cured layer so the print stays on the plate. When it doesn’t—when the cured resin sticks to the FEP instead—you get a failed print stuck to the vat’s bottom.
This happens for three core reasons:
- Poor bed leveling: If the build plate isn’t perfectly parallel to the FEP, the first layer won’t form evenly. Uneven pressure = uneven adhesion.
- Incorrect exposure settings: Too little exposure and the resin doesn’t cure fully on the plate. Too much and it over-cures, creating a vacuum seal.
- FEP film degradation: Over time, FEP gets cloudy, scratched, or stretched. A damaged film increases friction, making release impossible.
The result? Wasted resin, wasted time, and a messy cleanup. But don’t panic. Let’s get your prints sticking to the plate—not the film.
7 Step-by-Step Solutions to Stop Prints Sticking to FEP
1. Re-Level Your Build Plate (The Right Way)
This is the most common fix. If your plate is even slightly crooked, the first layer won’t have uniform contact with the FEP. Here’s how to do it perfectly:
- Remove the vat and clean the build plate.
- Loosen the two screws on the plate’s ball joint.
- Place a piece of regular printer paper on the LCD screen (or FEP if vat is on).
- Lower the plate until it lightly touches the paper—you should feel slight drag when pulling it.
- Tighten the screws while keeping pressure on the plate.
- Test with a “leveling print” (a single-layer square). If it’s uniform, you’re golden.
Pro tip: Many printers (like Elegoo Mars or Anycubic Photon) need re-leveling after every resin change or after a failed print. Make it a habit.
2. Increase Bottom Layer Exposure Time
Your bottom layers (usually 4-6) need more exposure than regular layers to bond firmly to the plate. If they’re too short, they won’t stick. Try these starting points:
| Resin Type | Bottom Exposure (s) | Normal Exposure (s) |
|---|---|---|
| Standard clear/grey | 35-50 | 6-8 |
| ABS-like | 40-60 | 8-10 |
| Flexible/elastic | 50-70 | 10-15 |
| High-temperature | 45-65 | 9-12 |
Source: Common community settings for 0.05mm layer height. Adjust based on your printer’s LCD power.
If prints still stick to FEP, increase bottom exposure by 5 seconds at a time. But don’t go over 80 seconds—you’ll cure the resin into a brick.
3. Reduce Lift Speed (Especially on the First Few Layers)
When the build plate lifts, it peels the cured layer off the FEP. If it lifts too fast, the suction force rips the print off the plate. Slow it down:
- Set bottom lift speed to 20-40 mm/min (default is often 60-80).
- Set normal lift speed to 40-60 mm/min.
- If your slicer allows, add a “wait time” after printing (e.g., 1-2 seconds) to let the resin settle.
This gives the print a gentle release. Think of it like pulling off a bandaid—but in slow motion.
4. Lubricate the FEP Film (Yes, Really)
A thin layer of PTFE lubricant (like the stuff used on bicycle chains) reduces friction between the FEP and cured resin. Here’s the safe method:
- Clean the FEP with IPA (isopropyl alcohol) and a microfiber cloth. Let dry.
- Apply ONE DROP of PTFE lubricant to the center of the film.
- Wipe it in a circular motion with a lint-free cloth until you can’t see it anymore.
- Wait 10 minutes for the carrier solvent to evaporate.
Warning: Do NOT use WD-40 or silicone spray—they can contaminate the resin and cause layer separation. Stick to PTFE (sold as “3-in-1 PTFE Dry Lube” or similar).
5. Check Your FEP Film for Damage
FEP films are consumables. After 10-20 prints, they develop micro-scratches that increase adhesion. If you see:
- Cloudiness or fogging
- Deep scratches
- Bubbles or pitting
- Wrinkles or sagging
…replace the film. Here’s a quick checklist:
FEP Replacement Checklist:
- [ ] Buy correct size (check your printer model)
- [ ] Remove old film and clean vat frame
- [ ] Stretch new film tight (use a screwdriver to press it into the frame)
- [ ] Tension evenly (tap the film—it should sound like a drum, not a thud)
- [ ] Do a “vat test”: pour in water and check for leaks
Replacing the film costs $10-20 and can solve 90% of sticking issues.
6. Increase Bottom Layer Count
More bottom layers mean more surface area bonded to the plate. If you’re using 4 bottom layers, try 6 or 8. Each extra layer adds 0.05mm of thickness (at 0.05mm layer height). This helps anchor the print, especially for tall or heavy models.
Caveat: More bottom layers = more elephant’s foot (a bulge at the base). To mitigate that, increase bottom light-off delay (the time the screen is off between layers) to 5-10 seconds. This lets the resin settle and reduces over-curing.
7. Use a Flexible or “Tough” Resin for Problem Prints
Some resins are naturally more adhesive than others. If you’re printing large, flat objects (like bases or plates), switch to a “tough” or “ABS-like” resin. These have lower shrinkage and better layer adhesion, meaning they’re less likely to peel off the plate. Examples:
- Siraya Tech Tenacious (flexible, high toughness)
- Phrozen TR250 (low shrinkage)
- Anycubic Tough Resin (good for mechanical parts)
If you’re stuck using a standard resin, consider adding 10% Tenacious to your mix. It acts like a release agent and improves success rates dramatically.
FAQ: Resin Sticking to FEP
Q1: Can I use tape to fix a sticking issue?
No. Some users try putting Kapton tape or painter’s tape on the FEP to create a non-stick surface. This is a bad idea—tape can shift during printing, cause uneven layer heights, and leave adhesive residue in the resin. Stick to PTFE lubricant or a new FEP film.
Q2: Why does my print stick to FEP only in the center?
This is a classic sign of overexposure or a warped build plate. The center of the FEP gets the most UV light, so if you’re over-curing, that area creates a stronger bond. Solution: reduce bottom exposure by 5-10 seconds and check your plate’s flatness with a straight edge.
Q3: Is it safe to use hairspray on the FEP?
Hairspray is designed to make things sticky, not slippery. It can actually increase adhesion to the FEP. Use it on the build plate if you want better plate adhesion, but never on the FEP. For the FEP, use PTFE lubricant only.
Q4: How often should I replace the FEP film?
Every 15-30 prints, or when you notice scratches, cloudiness, or frequent failures. If you print with abrasive resins (like metal-filled or glow-in-the-dark), replace every 10 prints. Keep a spare FEP film on hand—it’s cheap insurance.
Q5: My printer has a “vat cleaning” feature. Can it fix a stuck print?
The “vat cleaning” or “tank clean” function cures a thin layer of resin at the bottom of the vat, which you can then peel off—including any failed bits. It’s great for cleaning up after a failure, but it won’t prevent future sticking. Use it as a cleanup tool, not a fix.
Editor’s note
After five years of printing, I’ll never forget my first FEP disaster. Armed with a $30 bottle of bargain-bin resin, a room cold enough for penguins (65°F), and a build plate that hadn’t been leveled since the last presidential election, I produced what could only be described as modern art—a melted crayon masterpiece. A quick FEP swap, some plate leveling, and relocating to a balmy 75°F oasis solved it for good. Turns out, the cure was simple: warmth, alignment, and a dash of patience.
Summary
Resin sticking to FEP is the #1 frustration in SLA printing, but it’s also the most fixable. Start with bed leveling and exposure times—90% of issues come from those two factors. If that fails, slow down your lift speed, lubricate the FEP, or replace the film entirely. Use the checklist below to diagnose your next failure in under 5 minutes.
Quick Diagnosis Checklist:
- [ ] Is the build plate level? (Test with paper)
- [ ] Are bottom exposure times correct? (See table above)
- [ ] Is lift speed below 40 mm/min for bottom layers?
- [ ] Is the FEP film clear and scratch-free?
- [ ] Is the resin temperature above 70°F (21°C)?
If you’ve tried all seven steps and prints still stick, consider upgrading to a printer with a mono LCD (like the Elegoo Mars 3 or Phrozen Sonic Mini 8K)—they have higher UV output and better release properties. But for most users, these fixes will save you time, resin, and sanity.
For more printer troubleshooting, check out our guides on Epson firmware errors and emergency prep for your workshop. Happy printing!

Leave a Reply