
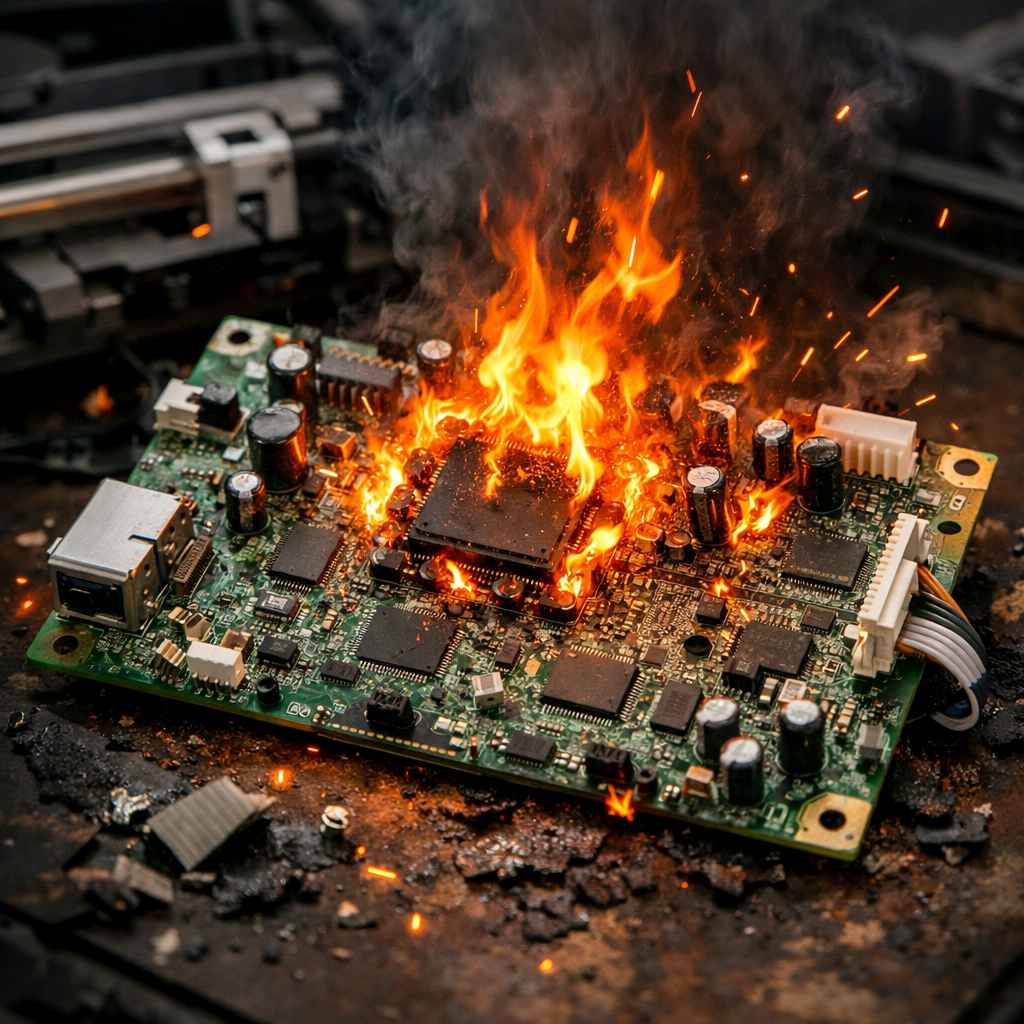
Epson Error Code 0x97: The “Fatal Firmware Failure” – How to Fix It (And When to Give Up)
In the middle of printing something important—whether it’s a shipping label, a homework project, or a set of client photos—your Epson printer suddenly stops with a harsh screech. The LCD screen blazes red, displaying the dreaded Error Code 0x97. Your stomach drops. The printer has effectively turned into a useless hunk of plastic. This isn’t just a paper jam or a low-ink alert; it’s the notorious “Fatal Firmware Failure,” one of the most aggravating issues in the Epson world.
But don’t throw your printer out the window just yet. At alienbunker.com, we’ve dug deep into the forums, service manuals, and tech support rabbit holes to bring you a definitive, step-by-step guide to conquering Error 0x97. We’ll cover what causes it, the actual fixes you can try at home, and—most importantly—when it’s time to cut your losses and buy a new machine. Let’s bring your printer back from the dead.
What is Epson Error Code 0x97?
Error code 0x97 is a fatal firmware or hardware initialization failure. Think of it as your printer’s brain having a catastrophic seizure during startup. When you turn on the printer, it runs a Power-On Self-Test (POST). It checks the print head, the carriage motor, the mainboard, and the firmware (the printer’s operating system). If any of these components fail to respond correctly, the printer throws a 0x97 error to prevent further damage.
This error is notoriously common on Epson WorkForce series (WF-2540, WF-2630, WF-2660, WF-3620, WF-3640, WF-7110, WF-7610, etc.) and some Expression Home models. It’s often triggered by:
- A corrupted firmware update. The most common cause. A power outage or a failed update can scramble the printer’s brain.
- A seized print head carriage. The print head gets stuck on dried ink or a physical obstruction, and the motor can’t move it, causing the initialization to fail.
- A failed mainboard or logic board. A short circuit, a blown capacitor, or a fried chip.
- A faulty print head. The print head itself can short out, sending bad signals to the mainboard.
- Internal paper jam debris. A tiny piece of paper stuck in the encoder strip or carriage rail.
The key difference between 0x97 and other errors (like 0xE9 or 0xF1) is that 0x97 is almost always a “fatal” error. The printer refuses to do anything. It won’t print, it won’t scan, it won’t even let you into the menu. It’s a full system lockout.
5 Step-by-Step Solutions to Fix Epson Error 0x97
Warning: Some of these steps involve physically manipulating the printer’s internal components. If you are not comfortable with this, or if your printer is still under warranty, stop now and contact Epson support. Opening the printer will void your warranty. Proceed at your own risk.
Solution 1: The Hard Power Reset (The 90% Fix)
This is the first thing you should try. It clears the printer’s volatile memory and forces a fresh startup sequence.
- Unplug everything. Disconnect the power cord from the wall outlet and from the printer. Also, disconnect the USB cable and any network cables.
- Remove the ink cartridges. Open the scanner unit and remove all the ink cartridges. This releases pressure on the print head.
- Wait 10-15 minutes. This is critical. It allows the capacitors on the mainboard to fully discharge.
- Press and hold the power button. While the printer is still unplugged, press and hold the “Power” button for 30 seconds. This drains any residual charge.
- Reconnect and power on. Plug the power cord back in (but not the USB cable yet). Press the Power button. If the printer starts up normally, you’re golden. Reinstall the ink cartridges.
- If the error persists, move to Solution 2.
Solution 2: Check for Physical Obstructions (The Carriage Jam Fix)
A common cause of 0x97 is a stuck print head carriage. The printer tries to move it during initialization, fails, and throws the error.
- Unplug the printer. Safety first.
- Open the scanner lid. Look inside. You should see the print head carriage (the plastic assembly that holds the ink cartridges).
- Manually move the carriage. Gently push the carriage from left to right. It should slide smoothly. If it feels stuck or makes a grinding noise, you have a jam.
- Look for debris. Check for torn paper, paperclips, staples, or dried ink blobs blocking the carriage path. Use a flashlight and a pair of tweezers to carefully remove any obstructions.
- Check the encoder strip. There is a clear, plastic strip with tiny lines on it behind the carriage (the encoder strip). If this strip is dirty or broken, the carriage can’t figure out where it is. Gently clean it with a lint-free cloth and isopropyl alcohol.
- Lubricate the rail. If the carriage is moving but feels “gritty,” you can apply a tiny drop of white lithium grease or sewing machine oil to the metal rail. Do not use WD-40.
- Reassemble and test. Plug the printer back in and turn it on. If the error is gone, you fixed it.
Solution 3: The “Sensor Tape” Trick (Advanced Users Only)
This is a controversial fix found on forums like Badcaps.net and Tom’s Hardware. It tricks the printer into bypassing the print head initialization test. This is a temporary fix and will likely fail again. Use this only if you’re desperate to print one last document.
- Unplug the printer.
- Open the scanner unit.
- Locate the carriage home position sensor. This is a small, optical sensor (usually black) on the left side of the printer, where the carriage parks. It often has a thin metal or plastic flag that moves in and out of it.
- Apply tape. Take a small piece of electrical tape (about 1/4 inch) and cover the sensor’s “eye” (the U-shaped slot). This blocks the sensor from seeing the carriage.
- Power on the printer. The printer may now skip the carriage check and proceed to a ready state.
- Print your document. Immediately print what you need. The printer may print with errors (like missing colors or lines).
- Remove the tape. Once you’re done, unplug the printer and remove the tape. This trick is not a permanent solution.
Solution 4: Firmware Reflash (The “I’m a Hacker” Fix)
If the error was caused by a corrupted firmware update, you need to reflash the firmware. This is risky and requires a specific tool.
- Find the correct firmware. Go to Epson’s support website and download the latest firmware for your exact printer model. Save it to your desktop.
- Enter Service Mode. This is the tricky part. To enter Service Mode on most Epson WorkForce printers, you need to hold down a specific combination of buttons while plugging in the power cord. The combo is usually: Hold down “Home” + “Back” + “OK” (or “Menu” + “Arrow Down” + “OK”). While holding these, plug in the power cord. The LCD should stay dark or flash.
- Use the Firmware Updater. Run the firmware updater you downloaded. It should detect the printer in Service Mode.
- Wait. Do NOT interrupt the update. Do not turn off the printer. Do not unplug it. A failed firmware update will brick the printer permanently.
- Restart. Once the update is complete, the printer should restart. Hopefully, the 0x97 error is gone.
If this doesn’t work, your mainboard is likely fried.
Solution 5: The “Reset EEPROM” via Service Adjust Program
This is the nuclear option. It requires a computer, a USB cable, and a special (often paid) software called Epson Service Adjust Program (or WIC Reset Utility). This program can reset the printer’s internal EEPROM (non-volatile memory).
- Download the Service Adjust Program. Find the version that matches your printer model. This is often found on Russian or Chinese repair forums.
- Enter Service Mode. (See Solution 4 above).
- Connect via USB. Run the program. It should show “USB Port” or “COM Port.”
- Go to “EEPROM Reset.” Look for a tab or button that says “EEPROM Reset” or “Initialize EEPROM.”
- Click “Initialize.” This resets the printer’s memory to factory defaults, clearing any corrupt settings that cause 0x97.
- Power cycle. Turn the printer off and on. If the error persists, the hardware is dead.
FAQ: Epson Error 0x97
Q1: Is Epson Error 0x97 repairable?
Yes, but only if the cause is a corrupted firmware or a simple mechanical jam (Solutions 1-3). If the mainboard or print head is fried (Solutions 4-5 fail), it is often not economically repairable. The cost of a replacement mainboard can be $80-$150, while a new printer costs $100-$200. In that case, it’s better to buy a new printer.
Q2: Will a factory reset fix Error 0x97?
No. A standard factory reset (from the printer’s menu) won’t work because the printer is frozen and won’t let you access the menu. You need to enter Service Mode to perform a hard reset, as described in Solution 4 and 5.
Q3: Why does Error 0x97 happen after a power outage?
Power outages can corrupt the firmware update process. If the printer was in the middle of a firmware update when the power went out, the firmware becomes a scrambled mess. The printer then fails its POST check and throws the 0x97 error.
Q4: Can I fix Error 0x97 by replacing the ink cartridges?
No. This is a common myth. Error 0x97 is not related to ink levels or cartridge recognition. Replacing cartridges will not fix it. However, removing the cartridges is part of the hard reset process (Solution 1) to relieve pressure on the print head.
Q5: My printer is out of warranty. Should I take it to a repair shop?
It depends on the printer’s value. A repair shop will charge a diagnostic fee ($30-$60) plus labor ($50-$100). If your printer is a $150 model, it’s not worth it. If it’s a $500+ professional photo printer (like a SureColor P-Series), a repair might be justified. For most home users, it’s cheaper to replace the printer.
(EDITOR’S NOTE)
The truth is, Error 0x97 usually spells the end for most consumer-grade Epson printers. They’re built to be disposable, with cheaply made mainboards and delicate firmware. If you spend more than a couple of hours trying to fix one, you’ve likely wasted more time than it’s worth. Don’t feel guilty about moving on—just recycle it responsibly and pick up a Brother laser printer, which doesn’t suffer from this issue.
The 0x97 Decision Tree
| Symptom | Try This First | If It Fails |
|---|---|---|
| Error appears after power outage or firmware update | Hard Power Reset (Solution 1) | Firmware Reflash (Solution 4) |
| Carriage is stuck or making grinding noises | Check for physical obstructions (Solution 2) | Lubricate rail / Replace encoder strip |
| Printer is completely dead, no response | Service Mode + EEPROM Reset (Solution 5) | Buy a new printer. The mainboard is dead. |
| Need to print ONE more page urgently | Sensor Tape Trick (Solution 3) | Buy a new printer. |
Epson Error 0x97 is a frustrating, often fatal error. Try the Hard Power Reset and Carriage Check first. If those don’t work, you’re likely looking at a hardware failure. For most users, the best “fix” is to replace the printer. Don’t let it ruin your day. At alienbunker.com, we believe in knowing when to fight and when to fold. Your time is worth more than a $100 printer.
Related Posts:

Leave a Reply