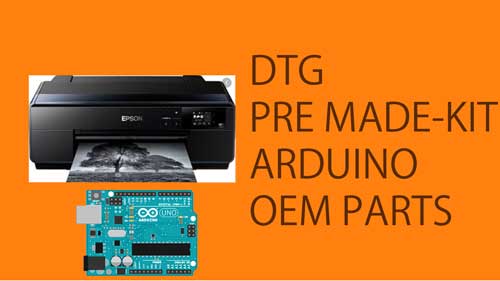
Many people are building their own DTG printer using Arduino, pre made kits, and using the original printer parts. But do you know the difference between those 3 types? Today we will analyze it and see the difference. All of them are really good, it all depends on the quality of your build.
DTG Made with Pre-made Kits
This is the most popular model. There are many companies selling pre made kits that you just install in your printer and get it working, but sometimes things can go wrong and you might not know how to fix it. Those kits require you to disassemble your printer and connect the boards you bought in the printer board, then you gotta put it back together to get it working.
This method is popular because you only have to disassemble your printer and install it, the only downside is that you still gotta disassemble the printer and many people are not comfortable with this.
Pros:
- It’s a pre made kit with external controls, you can control the table pushing buttons
- Stepper motor instead of the original DC Motor
Cons:
- Depending on your budget it can be a little expensive.
- You still gotta disassemble the printer.
- Sometimes things can go wrong and there’s not much support around.
DTG Made with Arduino
This is basically the same as above, but instead, you code it the way you want. You can add stepper motor, external buttons, and all that, but you still gotta code it yourself and make the schematics all by yourself. There’s not much information or source code around, so you gotta know how to code in Arduino and have some skills with hardware.
Pros:
- Can be cheap if you already got all the parts needed.
- Flexible. You can alter and modify to suit your needs.
- Uses stepper motor instead of DC Motor
Cons:
- You gotta know how to code and have some hardware skills
- Almost no source code or information around, so you gotta do most of it by yourself.
DTG Made with Original Parts
This is also a very popular method. It only uses a few pieces of wood and all the original parts of the printer.
This method is very cheap and troubleshooting can be easy because it’s using all the original parts so it’s like a normal printer.
Pros:
- Very cheap
- Easy to troubleshoot
- Parts can be replaced easily
Cons:
- You gotta disassemble the printer and build the base all by yourself. You also gotta place the sensors in the correct spot or the printer will not work.
- Uses DC Motor (It can have the same print quality as a stepper motor, it all depends on your build quality)