Whenever you want to just take a screenshot on Windows 10 or maybe you have something that you want to capture and edit later well fortunately there’s an application very easy to use and with many built-in functions to let you capture almost anything you want and any size you want.

The Snipping Tool
What is this Snipping Tool ? This application was introduced earlier with Windows Vista to let you easily take screenshot on Windows 10 and older versions of your screen in any size and shape you want. Not many people know about this software mostly because it’s not a very known software but it actually comes in pre-installed so why not use it.
Capturing Your First Screenshot on Windows 10
Lets take a screenshot of your screen or any area you want by going to Windows > Search > Snipping Tool and open it.
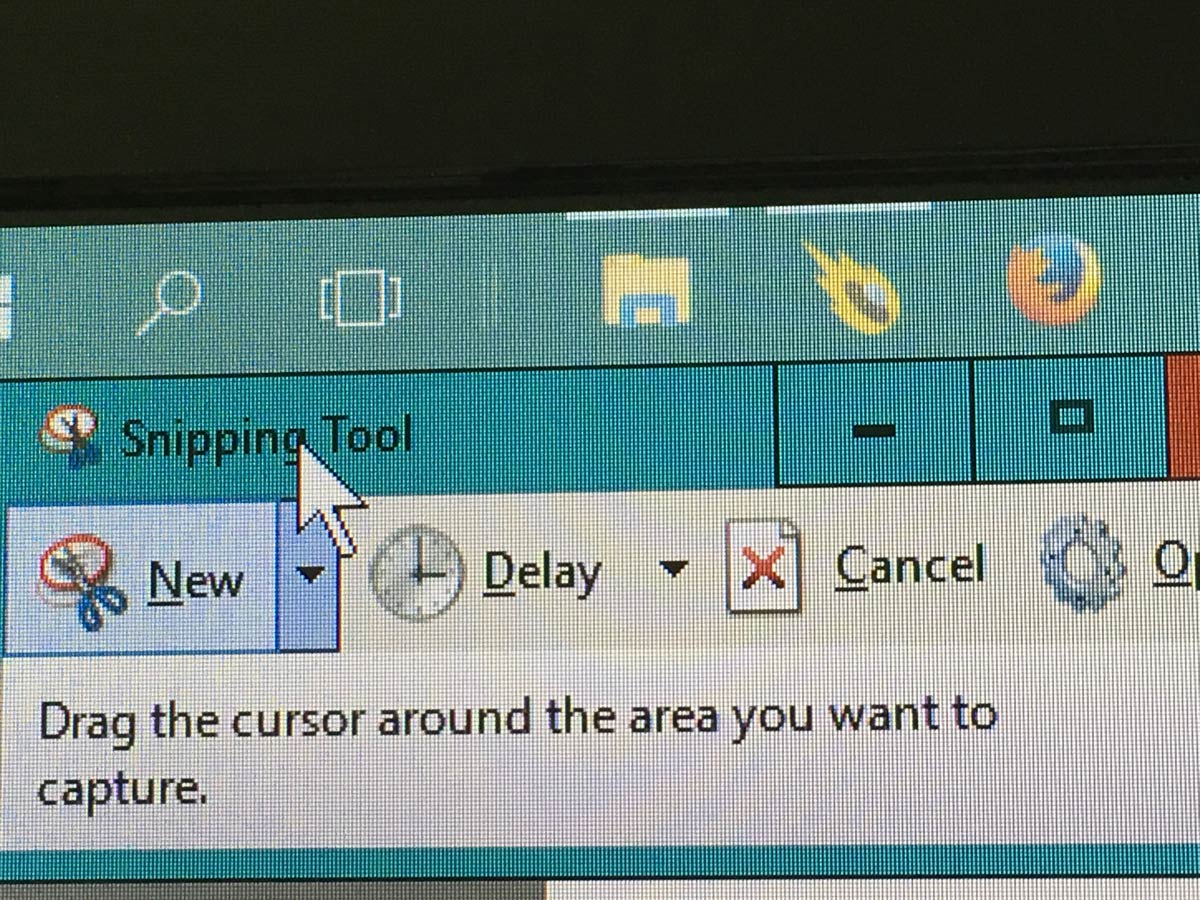
A new windows will popup and from there just click on the scissor button written “NEW” Hold left click and drag the rectangle around the area you want to capture and release the mouse when done.
You now have successfully captured a screenshot and it’s ready to be saved or edited. Either use the tools located on top of the Windows or just click on the purple floppy drive to save your screenshot.
It’s simple as that!
Image Type
This software not only takes a screenshot you can also choose the image type after you click on the purple floppy drive you can select the image type such as JPEG, PNG, GIF and MHTML.
Built-in Functions
The software comes with lots of integrated functions to suit every’s person needs so you can also take a delayed screenshot, Select an area to capture in free form, capture certain application window only and the full-screen capture.
If you have Windows 10 or Windows 8 or Windows 7 you’re lucky because you already have it installed!
Still have questions on how to use it ? Leave a comment or contact us below and let us know!